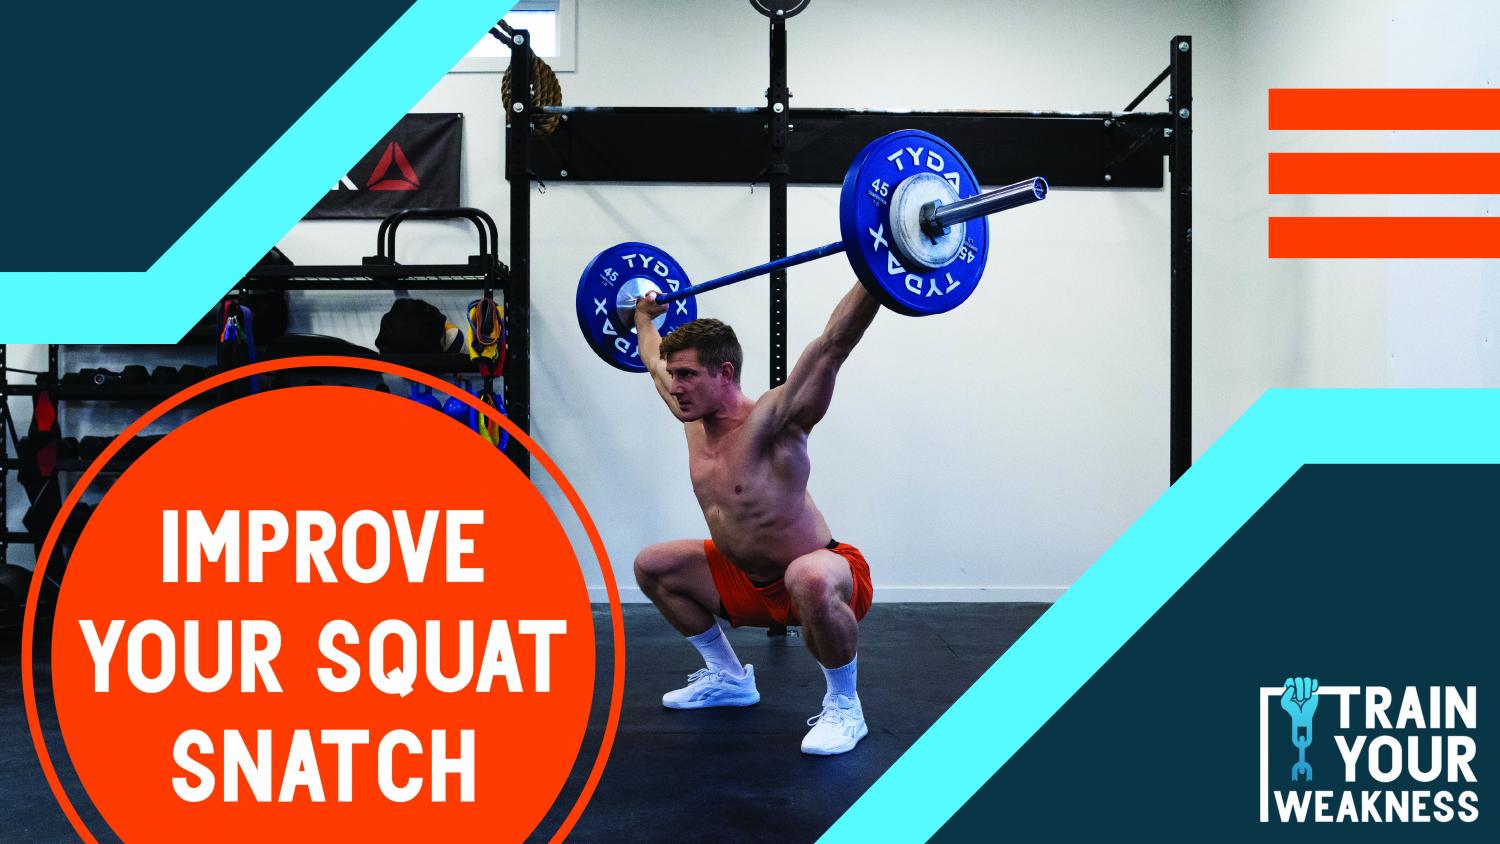
Improve Your Squat
The Propel Program
Functional Fitness, Functional TrainingImprove your squats with just 3 sessions a week.
This Train Your Weakness FOCUSED programming will have your squats improving in 8 weeks.


Read Intro
A
This squat program is 3 times a week, for 8 weeks. You will be receiving emails from us for the first bit - let us know how you’re doing, if you have any questions and how we can support you. A lot of information below, please take the time to read it all and refer back anytime you are unsure of something. The program is designed to develop your capacity to squat! The focus and pre/post program test will be on the back squat, however, you can expect to have accessory work involving other forms of squat. As stated, the intended outcome is to improve your 1RM (single rep maximum) back squat over the course of 8 weeks. Over the next 8 weeks you will be following a consistent weekly flow designed to maximize effectiveness of the program by creating room for squat technique practice, positional strength development, awareness of positions essential for a strong squat, bracing and breathing strategies, speed strength development, and progressively programmed accessory lifts to maximize results and assist in creating strong muscles and joints. Session 1 of each week will be all about back squat strength development. The initial 3 weeks of the program is built around accumulation of volume at moderate intensities. This offers you an opportunity to slowly get into the training block while enabling you to focus on creating solid squat mechanics and intention around each rep. The next 2 weeks are focused on intensification. You will notice a decrease in total volume completed while the intensity (percentage relative to your 1 rep max) will increase. The 2 weeks following is what is called the realization phase of training. At this point in the program, we are aiming for a high level of intensity both in terms of percentage of 1 rep max and reps completed at this high percentage. The final week will lead into a proper deload to maximize adaptation and allow you to show your new strength gained during your 1 rep max test! Session 2 of each week is focused on developing positional strength and stability using tempoed front squats as the tool. This allows us to control the intensity due to the fact that we will be performing very slow tempoed reps and using the front squat instead of back squat which should be about 85% of your maximum back squat when comparing 1 rep max lifts. This total load lifted will be low compared to the back squat allowing us to focus on small positional improvements. Session 3 of each week will be built around developing speed and squat conditioning. Each week the volume and duration (the total reps completed) will slightly decrease as the intensity (the percentage of 1 rep max) will slightly increase. This is done in an EMOM (every minute on the minute) setting that really challenges your fitness as we move toward the end of the program. Tempo Explained There will be many movements throughout this program that have a specific tempo prescribed to assist in creating the desired dose response for the movement and training session. It will look similar to this: @3030 or @20X1 This means that the movement is meant to be done at a specific tempo or speed, instead of just as fast as possible. Tempo is always @ (eccentric)(point where direction changes)(concentric or 'the work' part of the lift)(other point where direction changes) X means as fast as possible Numbers mean seconds. Example: @3012 that’s 3 second eccentric (down), 0 second hold at bottom, 1 second concentric on the way up, 2-second hold at the top Intensity and Loading You will also see the intensity of each set of every session is assigned a very specific intensity. This is written as a percentage (%) of 1 rep max, Rate of Perceived Exertion (RPE), and/or Reps in Reserve (RIR). First, let’s tackle the percentage (%) of 1 rep max. You will see it in the program written like this: “All 4 sets @60% of 1 rep max back squat”. Ideally, you will have a recently achieved 1 rep max that can be used effectively here. If not, you can use a 1 rep max calculator based on your previous training sets as an approximate metric that can be used. This website is a good option: https://strengthlevel.com/one-rep-max-calculator Another intensity prescription you will see will be Rate of Perceived Exertion (RPE) that will be seen as: “All 4 sets @60% of 1 rep max back squat or RPE 6-7 (could easily complete 3-4 more reps at this weight)” or “All 4 sets completed at RPE 7 (could easily complete 3 more reps at this weight)”. This is a very simple scale to use on paper but does require some practice to get really dialled into how your body feels through a set and what you are capable of as a max effort set. Please be patient and intentional while working with the RPE scale. Here is how the scale can be read and used in your training sessions: RPE 5 = Very light - felt like a warm-up set - could easily do 5 or more reps at that weight RPE 5.5 = Very light - pretty much a warm-up set - could probably do 5 more reps at that weight RPE 6 = Light - could have done at least 4 more reps at that weight RPE 6.5 = Light - could maybe do 4 more reps at that weight RPE 7 = Moderate - could have done at least 3 more reps at that weight RPE 7.5 = Moderate - could maybe have done 3 more reps at that weight RPE 8 = Challenging - could have done at least 2 more reps at that weight RPE 8.5 = Challenging - could maybe have done 2 more reps at that weight RPE 9 = Tough - could have done at least 1 more rep at that weight RPE 9.5 = Very tough - could have maybe completed just 1 more rep at that weight RPE 10 = MAX Effort! - no way I could have even completed 1 more rep at that weight You will also see intensity assigned as reps in reverse (RIR). This will show up in most cases in the accessory movements completed throughout the program. The RIR scale is very similar to the RPE scale. It is simply how many reps you are keeping in the tank every rep. This works best when programmed with a range of reps as a target like 15-20 reps or 10-15 reps per set. It is important that you stay aware of the RIR assigned to each movement and stay within it. For example, if the rep range is 15-20 and the prescription is to keep 3-4 reps in reserve it is better to stop at 16 reps if you think you only have 3 more reps in the tank than it is to push to complete 20 reps at a max effort. You will see it in your program written like this: keep 3-4 reps in reserve each set or keep 1-2 reps in reserve each set. Keeping 3-4 reps in reserve is similar to an RPE of 6-7 which is telling us that we are working at a moderate intensity. When keeping only 1-2 reps in reserve it is similar to working at an RPE of 8-9 which is a challenging/tough effort! IMPORTANT: All written movement cues and video examples can be found under "TIPS" If you have any questions about this program or want video review help, email: support@trainyourweakness.com All billing issues to support@trainheroic.com Let's get squatting! -TYW
Control 1 (5min)
B
90/90 Breathing 1 Set of 15 to 20 Breaths Note: We are looking to breathe into the belly and ultimately expand the core with air rather than the lungs. 1 Set: 20 Terminal Knee Extensions per Leg @11X2 Tempo 10 Deadbugs per Side @2121 Tempo 15 Glute Bridge @11X3 Tempo 10 Bird Dogs per Side @1112 Tempo 10 Tall Kneeling Glute Activation @11X2 Tempo 10 Goblet Squats @2221 Tempo 10 Light Dumbbell Cuban Press @1111 Tempo Rest as needed throughout
C
Squats: Barbell Back Squat
4 x 10 @ 60 %
D
Squats: Rear Foot Elevated Split Squat
3 x 15
Control 1 (5min)
A
2 Sets: 10 Cat Cow’s @2222 Tempo 10 Single Leg Glute Bridge per Leg @11X2 Tempo 10 Goat Bag Swings @3111 Tempo 20 Second Side Plank per Side
B
Squats: Barbell Front Squat
4 x 6
C
Squats: Pallof Press
2 x 20
Control 1 (5min)
A
2 Sets: 10 Tibialis Anterior Raises @1112 Tempo 10 Bent Knee Calf Raises @1112 Tempo 10 Cossack Squats (5 per Side) @2221 Tempo 10 Banded Good Mornings @31X1 Tempo 10 Plate Overhead Squats @21X1 Tempo 10 Push-up to Downward Dogs @21X2 Tempo
B
Squats: Barbell Back Squat
10 x 2 @ 65 %
C
Squats: Goblet Lateral Lunge
2 x 20
D
Squats: Dual Dumbbell Romanian Deadlift (RDL)
2 x 20
 Brent Fikowski
Brent has been a CrossFit Regionals athlete since 2013 and a CrossFit Games athlete since 2016. He is nicknamed "The Professor" because of his deliberate and thoughtful approach to training. He also started The Professor Project in 2018, helping athletes become more efficient in movement, mindset, and more.
 Bobby Dee
By focusing on Brent's weaknesses, they qualified for the CrossFit® Games and landed on the podium. The caliber of athletes Bobby Dee has coached is matched by his own personal achievements. He holds a Masters in Chiropractic, has elite history in the military, podium finisher in Australia’s Strongest Man, completed an Iron Man, an ultramarathon and competed at a high level in rugby and CrossFit®.
 Jeremy Meredith
2-time CrossFit® Games individual competitor and 9-time regionals athlete, Jeremy is a Level 2 Certified CrossFit® Trainer and owner of CrossFit® Vernon in Vernon, BC, Canada. Jeremy made his first trip to the CrossFit® Games in Carson, California, following that with a repeat trip in 2012.