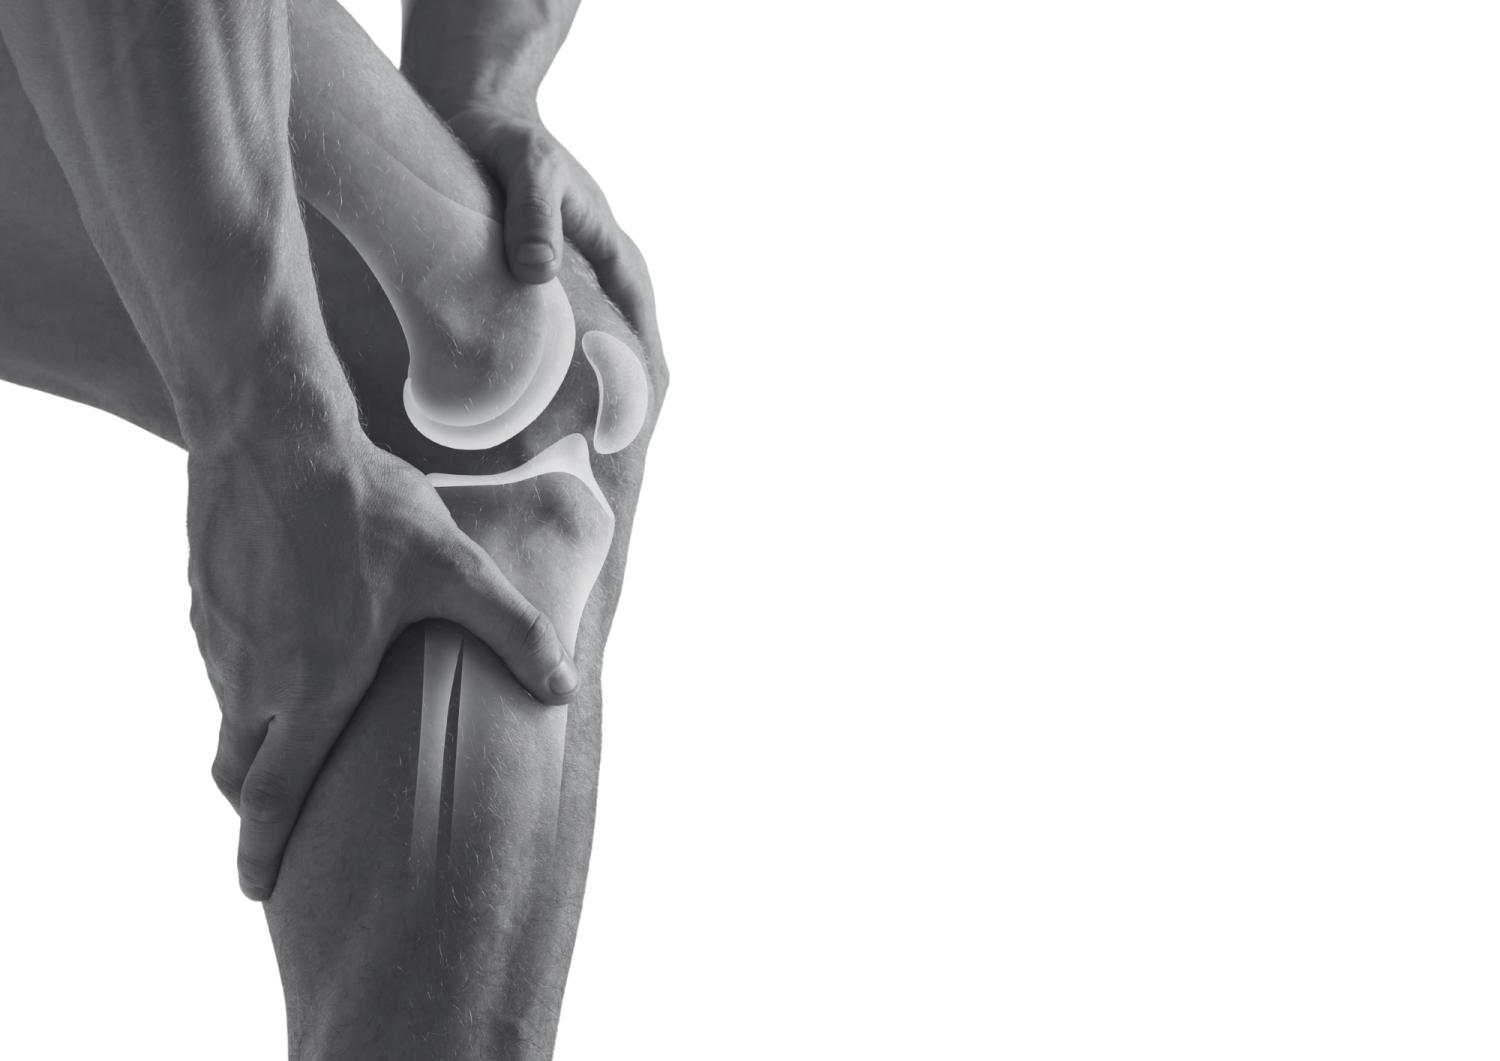

Achilles Phase 3 — Weeks 9–12 (Pre-Elastic Readiness)
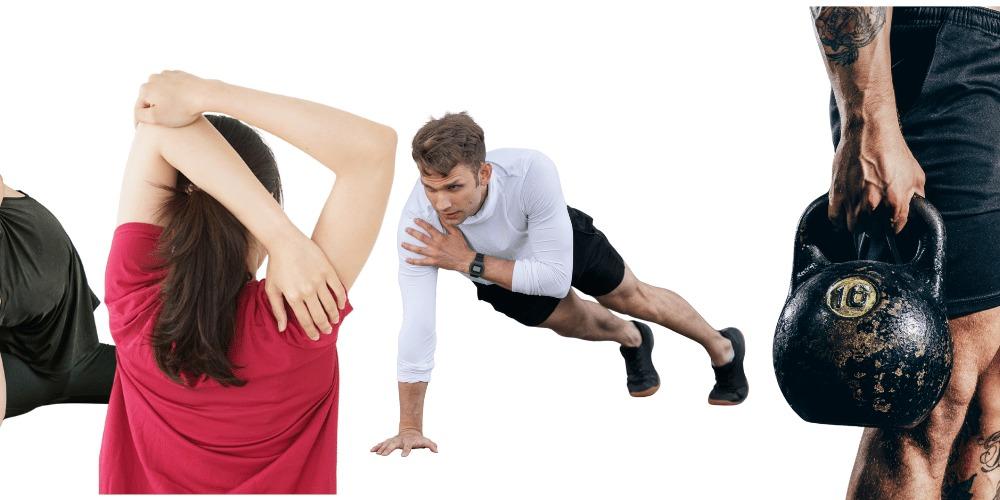
Prepare To Perform
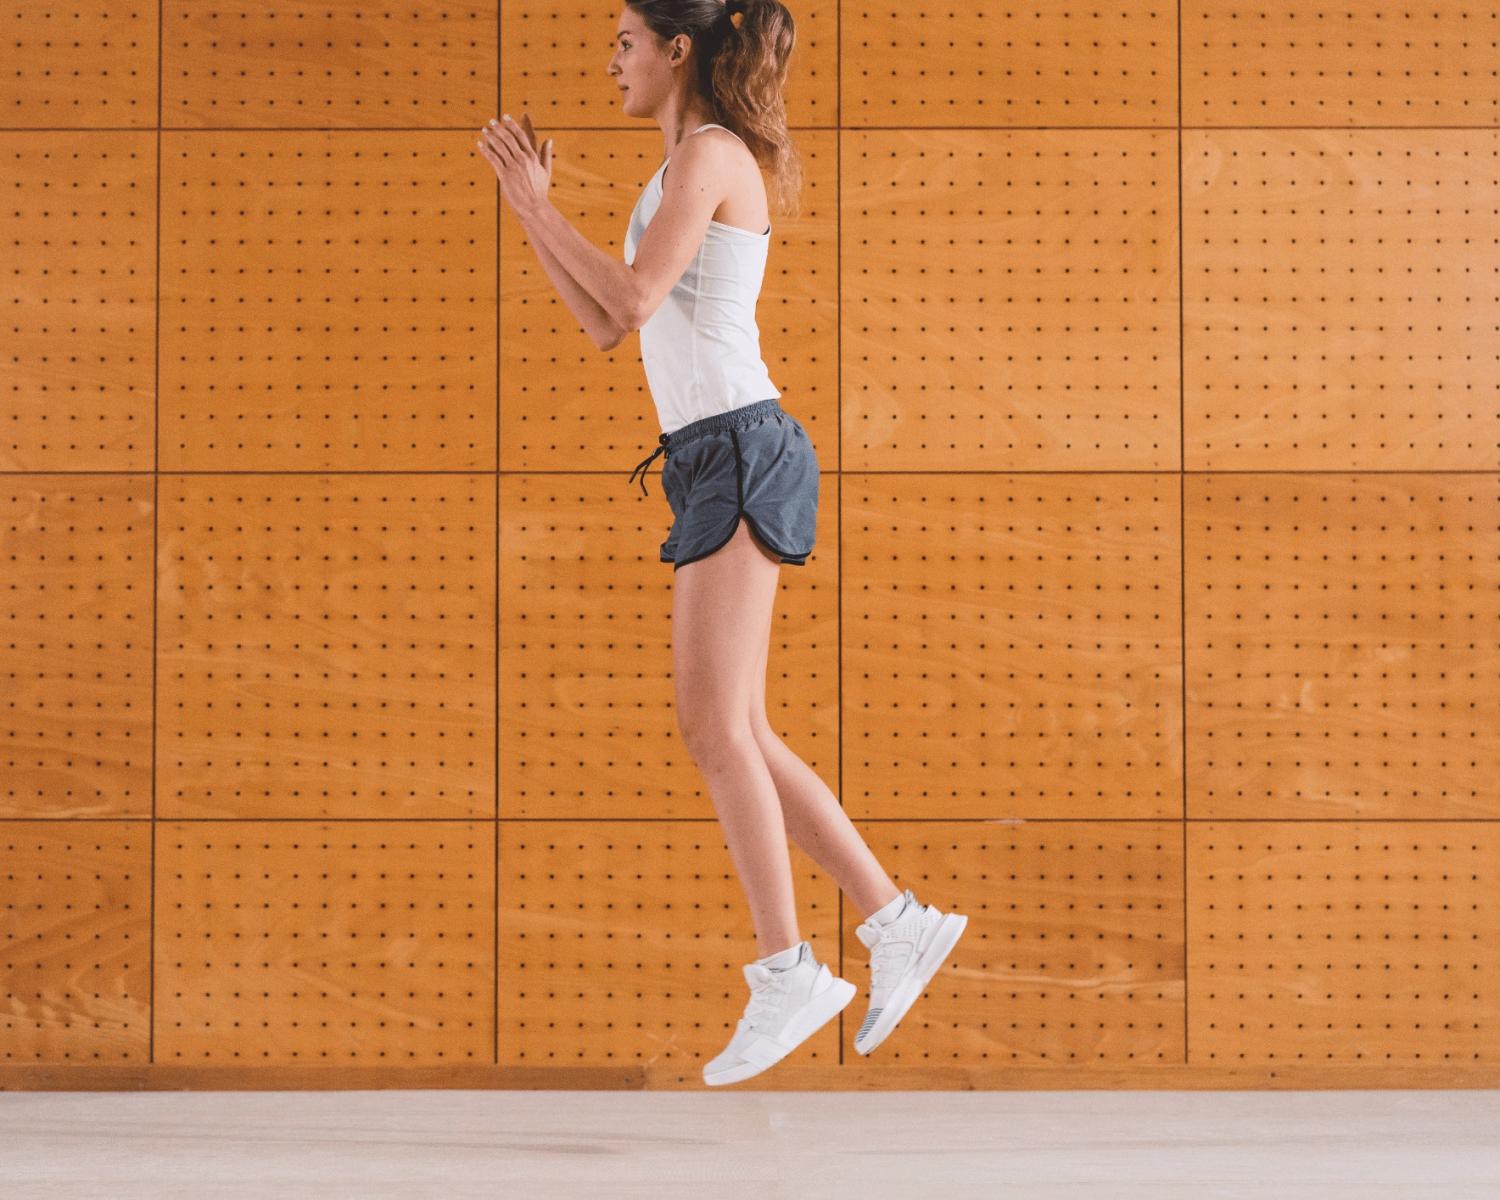
Marathon, Triathlon, Plyometrics, Football , Gaelic Football, Basketball, Baseball , Volleyball, Rugby, SoccerAchilles Load Restoration™ – Phase 3 High Load Capacity & Pre-Elastic Readiness (Weeks 9–12)
This is the third and final phase of the Achilles Load Restoration™ system, designed to build toward true high-load strength and prepare athletes for elastic rebound training.
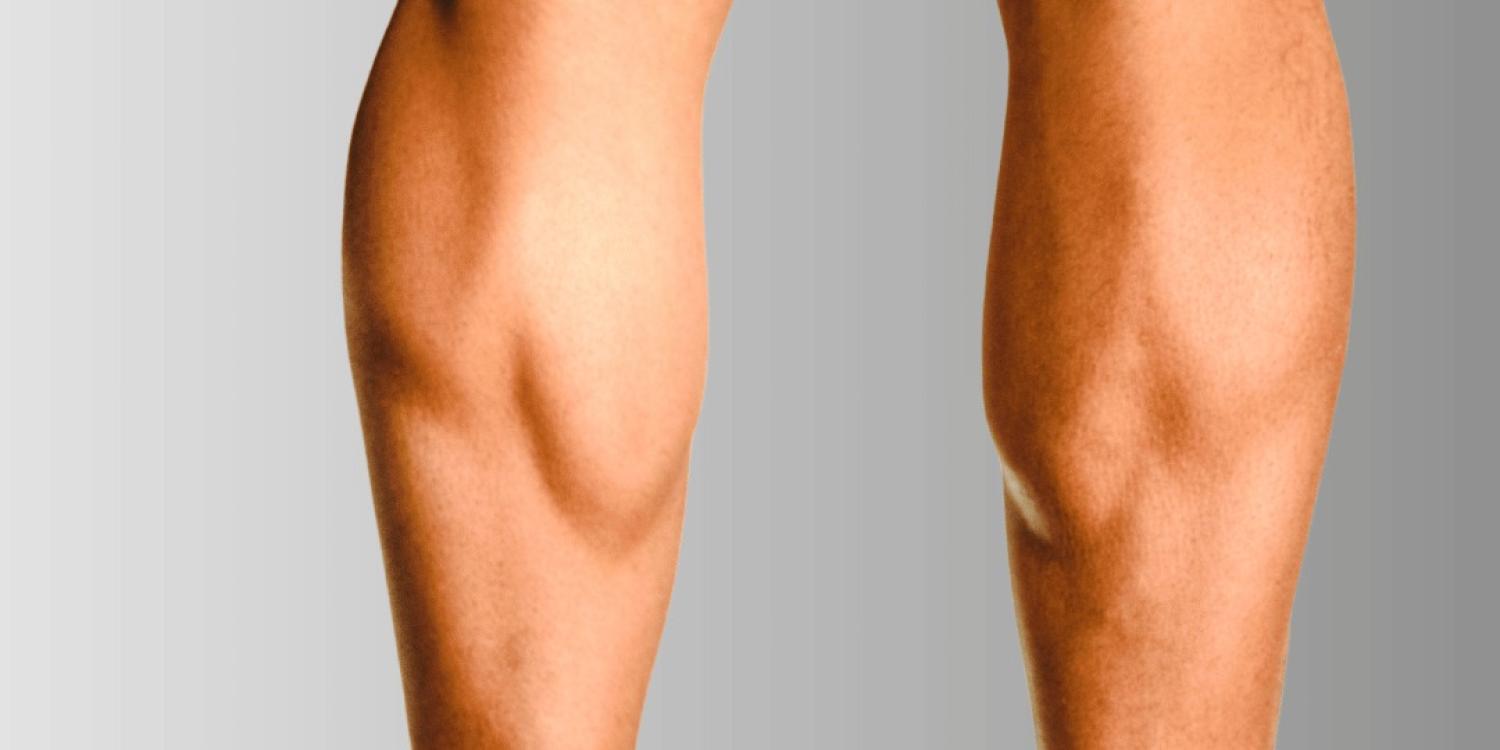
If you've completed Phase 2 and can hold a single-leg isometric heel raise at **1.2× bodyweight for 30 seconds **with confidence, minimal pain, and no next-day flare, you're ready for this stage.
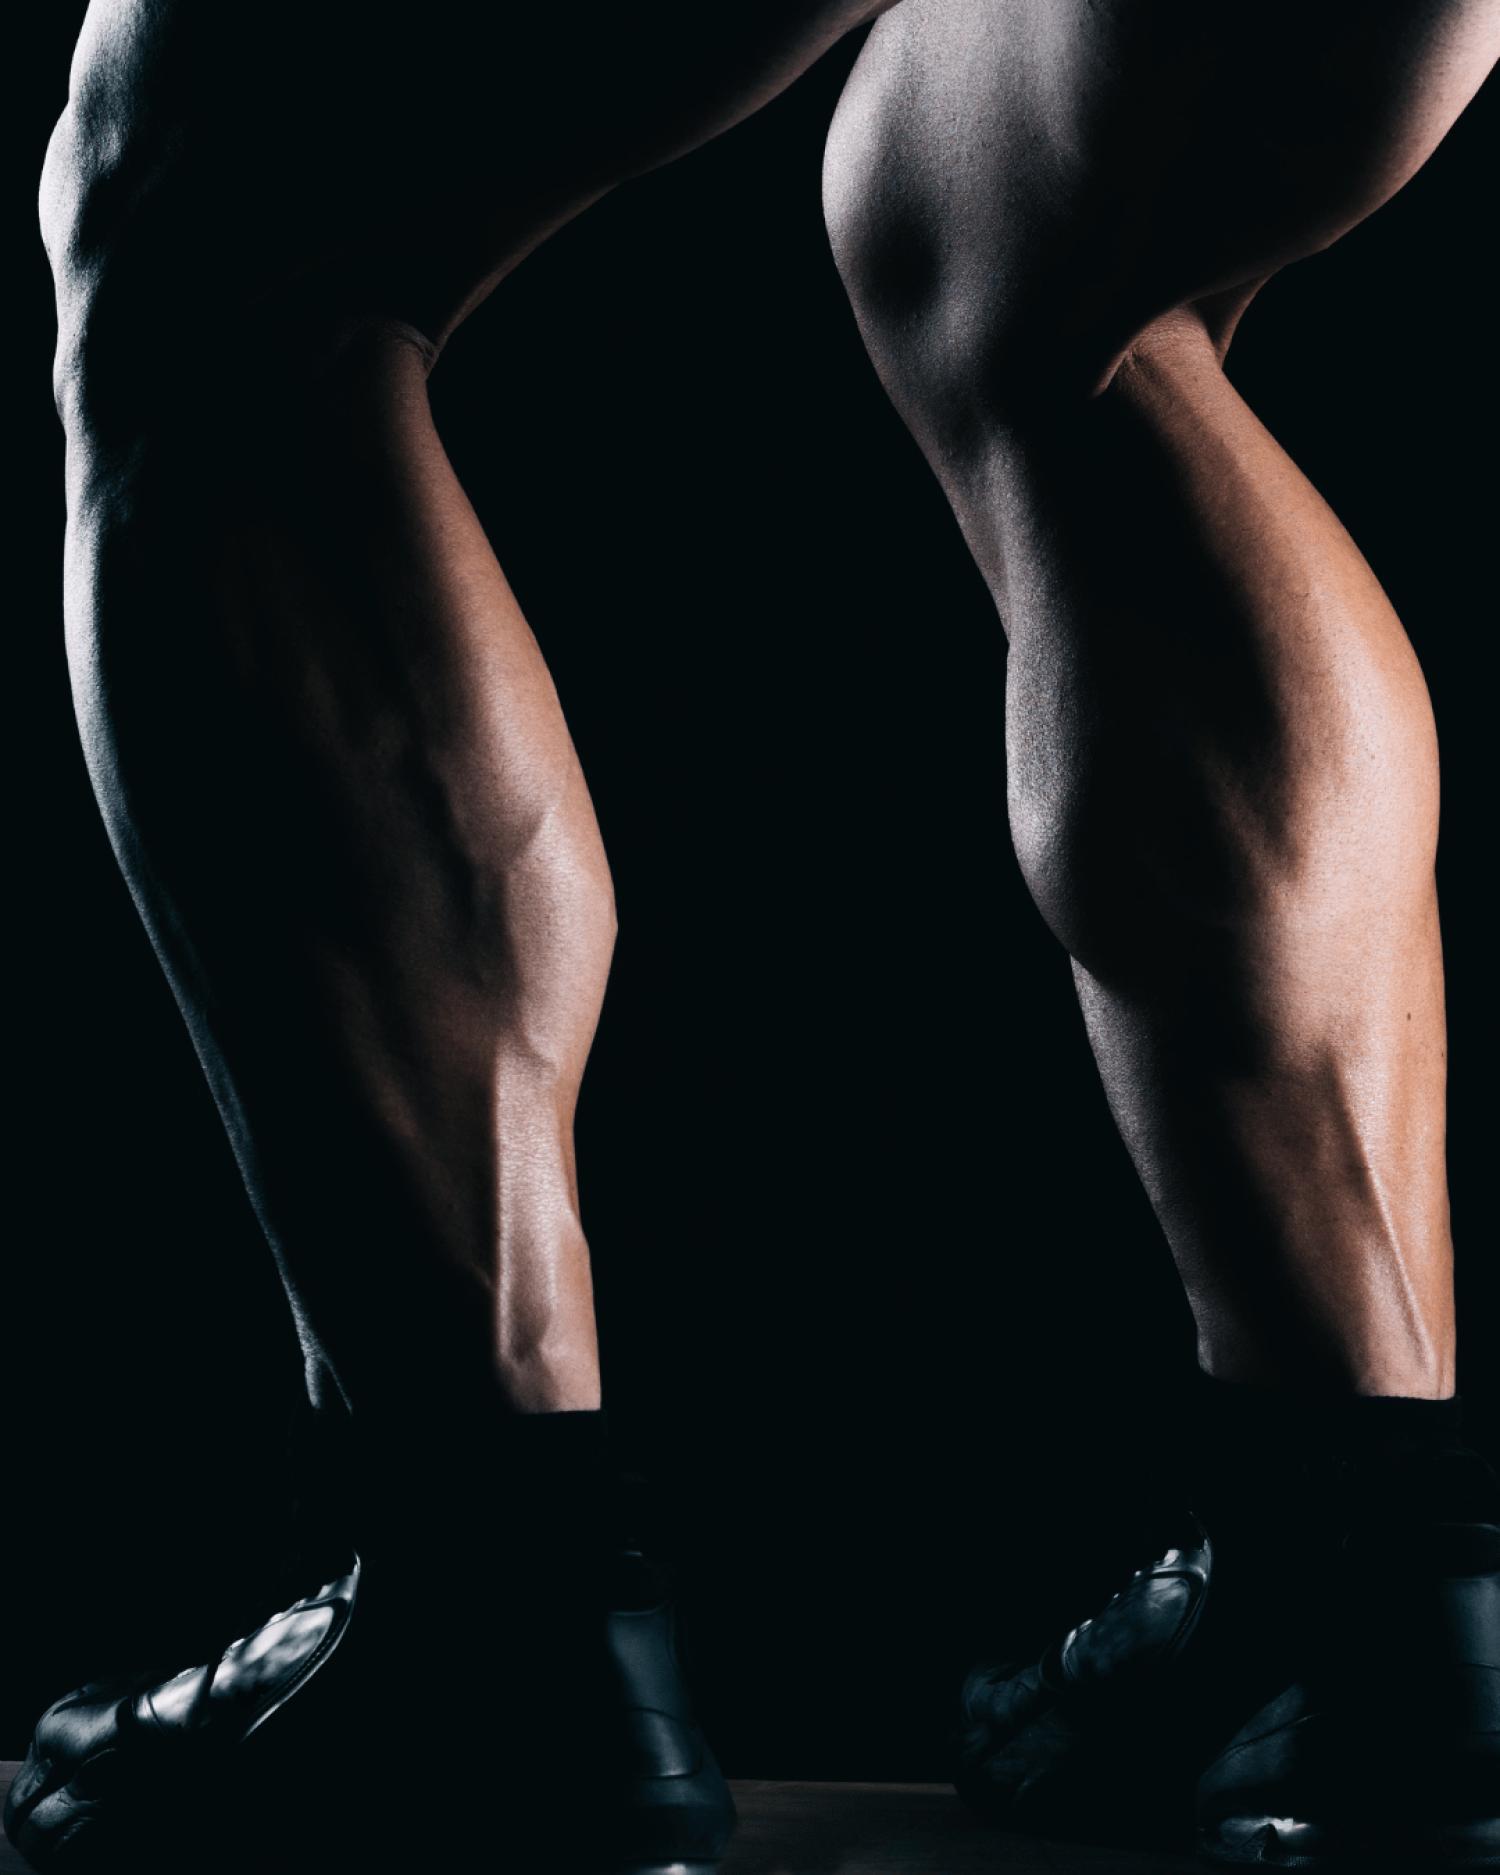
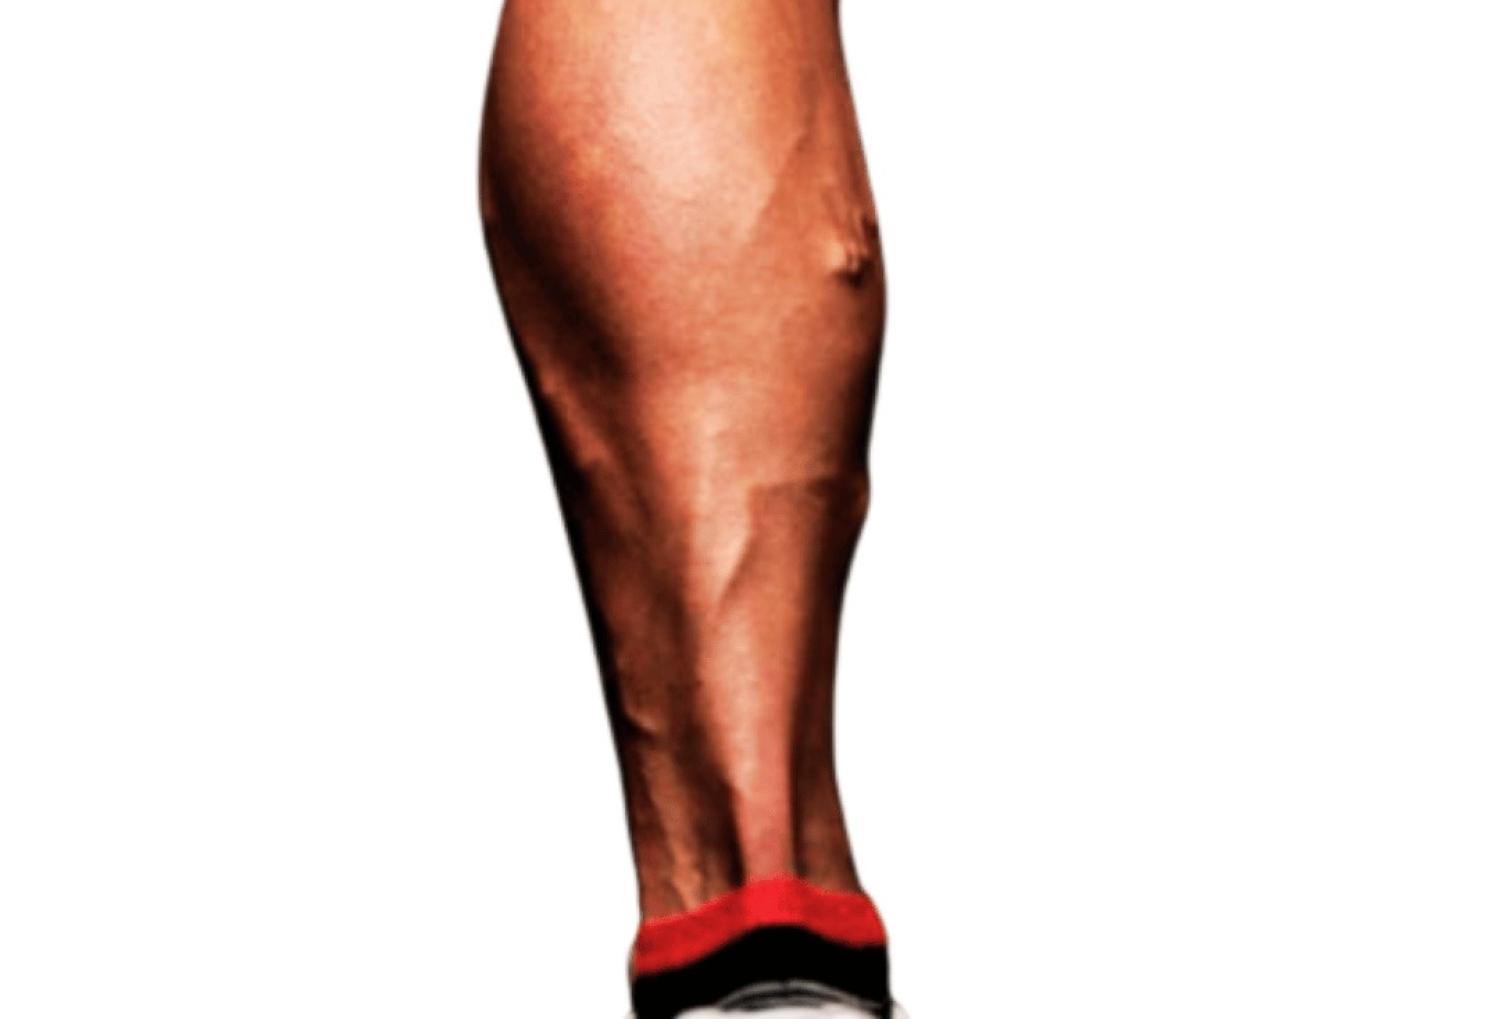
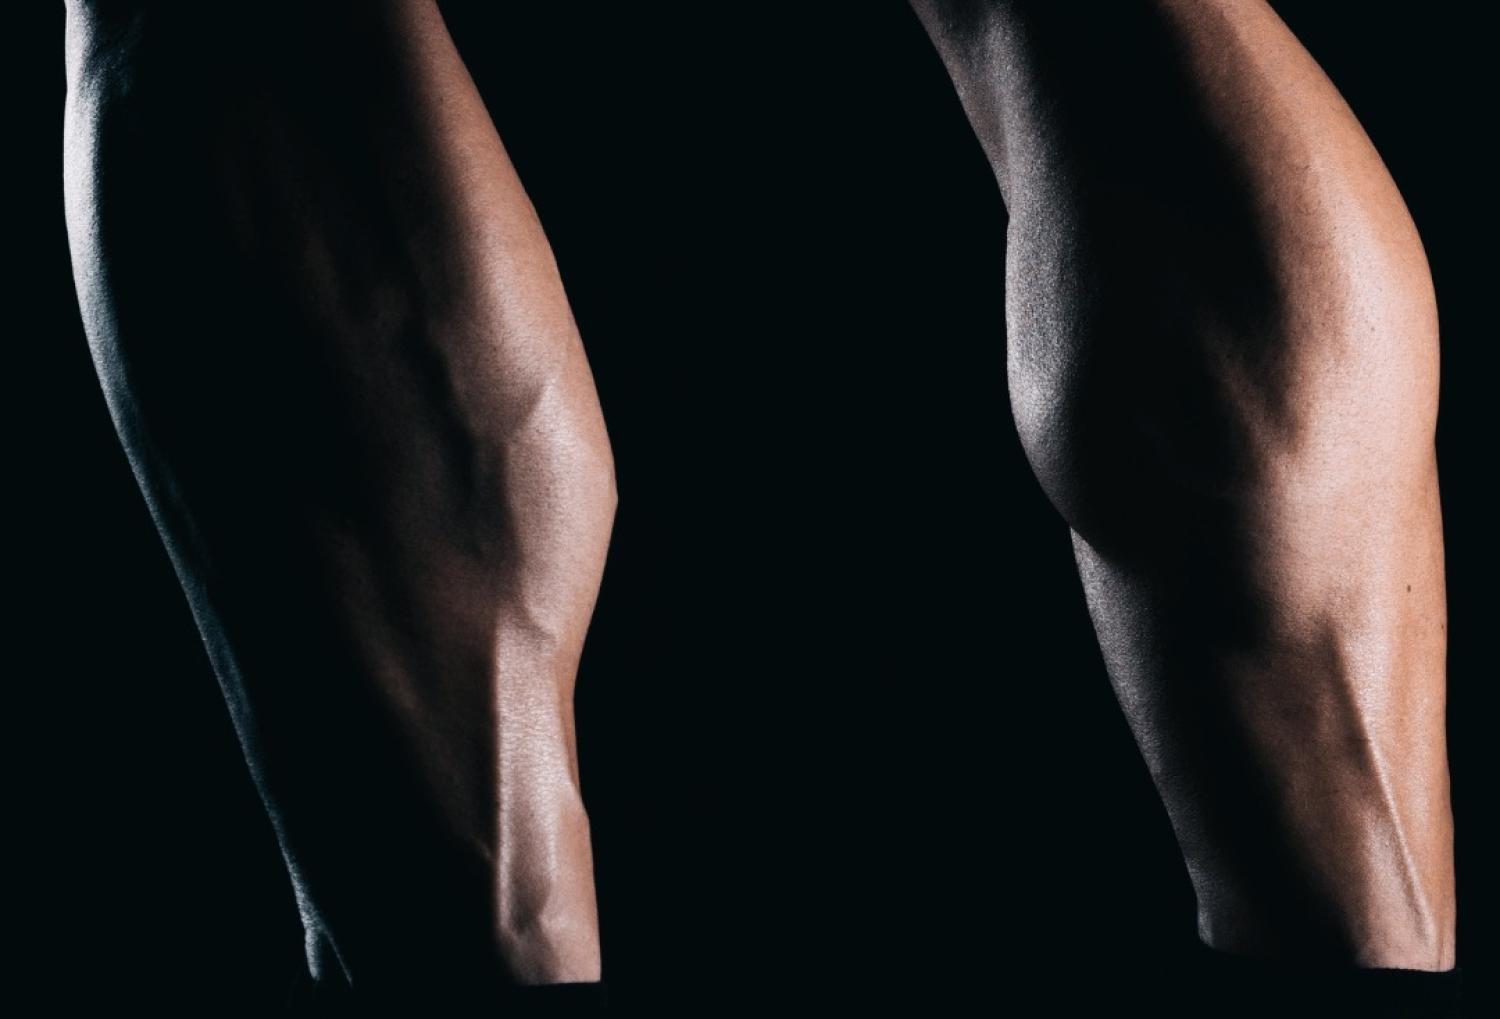
Phase 3 focuses on progressing to 1.5× bodyweight strength through slow, controlled heel raise variations, mid- to deep-range tendon loading, and integrated foot-ankle-hip control. Sessions add complexity, load, and challenge — but always with clear thresholds.
You'll train up to 3×/week, with 72+ hours between loading days, giving your tendon time to remodel and adapt. Optional supplementary sessions target energy system development, trunk coordination, and multi-planar loading to build global robustness. This is not a generic strength program — it's tendon-specific and rehab-informed.
By the end of Week 12, you should have the strength base required for safe entry into the Achilles Elastic Capacity™ program, which introduces structured plyometrics, true SSC drills, and return-to-run/rise progressions.
Phase 3 Entry Requirements:
Completed Phase 2 30s single-leg isometric hold @ 1.2× BW Full pain-free ROM in straight and bent-knee calf raises Stable, confident unilateral control
Phase 3 Exit Criteria:
Single-leg isometric hold @ 1.5× BW for 30s Pain-free strength in both straight and bent-knee calf raise positions (3×8 reps) Readiness for controlled ground contacts and entry into elastic training
This program is not standalone. It is the final part of a 3-phase progression system. If you haven’t completed Phases 1 and 2, start there to ensure safe adaptation.
If you're ready to finish the loading journey and prepare for dynamic power work — Phase 3 is where you consolidate strength and set the stage for return to sport.


A1
Diaphragmatic breathing reset
1 x 5
A2
Ankle plantarflexion isometric hold
4 x 20 @ 90
B
Wall Load and Lift
3 x 10
C
Standing Ankle Rhythm Pulses (At Bodyweight)
D
Loaded Isometric heel raise - single leg
3 x 30
E
Bent knee soleus heel raise (Single leg)
3 x 6
F
Split Stance Ankle Rebound Drill
3 x 20
Conditioning
G
Achilles Exit Checkpoint – Session 20
Before logging this session, self-check: Was isometric load at ~130% BW tolerable? No sharp pain or symptom spike during/after? Can you control the bent-knee tempo without bounce? Did rebound drill feel springy, not threatening? → If yes: Proceed → If no: Repeat this session next exposure
A1
Ankle plantarflexion isometric hold
4 x 25 @ 90
A2
Facilitated diaphragmatic breathing reset
1 x 5
B1
Ankle Rock → Heel Raise Transition
3 x 10
B2
Wall Load and Lift
2 x 12 @ 90
C
Loaded Isometric heel raise - single leg
3 x 30
D
Bent knee soleus heel raise (Single leg)
3 x 16
E
Split Stance Ankle Rebound Drill
3 x 30
F
Lateral step down → step up + heel raise
3 x 10
G
Standing toe taps - alternating
3 x 15
Energy System Development (On-Legs Conditioning)
H
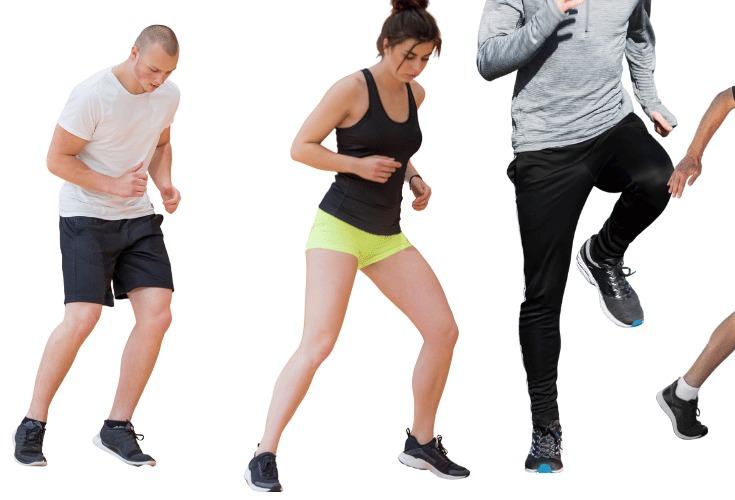
See videos. Structure: 30 sec A March on forefoot → 20 sec Lateral Box Step Overs → 20 sec Dynamic Forward Lunge (alternating). Rounds: 3 sets (60 sec recovery between rounds) Cues: “Cadence steady”, “Quiet on landing”, “Posture tall” Optional Add-On: AirDyne 20s on / 40s off × 4 for additional metabolic stress
Conditioning
I
Exit Checkpoint – Session 21
Did you maintain load at or above 1.2× BW with no flare? Was split stance rhythm stable, not painful? Did you tolerate deeper knee-bent-heel-raise work and lateral movements? Any next-day pain or stiffness? → Yes? Move to Session 22 → No? Repeat this exposure before progressing
A1
Facilitated diaphragmatic breathing reset
1 x 5
A2
Ankle plantarflexion isometric hold
4 x 25 @ 90
B1
Wall Load and Lift
2 x 12 @ 90
B2
Ankle Rock → Heel Raise Transition
3 x 16
C
Loaded Isometric heel raise - single leg
3 x 30
D
Lateral box step overs
3 x 10
E
DB Rear Foot Elevated Dynamic Lunge Step
2 x 10
Conditioning
F
Off-Legs Conditioning Circuit (Optional – Bike or SkiErg)
Options: Bilke, Ski-Erg, Battle Ropes, Incline Treadmill walking 5 rounds: 45 sec easy 30 sec steady 15 sec fast surge Total Time: 7.5–10 min Purpose: Develop aerobic conditioning without lower limb elastic load Monitor: HR <80% max; breathing should recover between rounds
Conditioning
G
Achilles Exit Checkpoint (phase 3)
Before logging this session, self-check: Did you tolerate the main strength load with no flare-up? Was pain ≤4/10 and resolved within the session? Was next-day stiffness equal or less than after the last session? Do you feel stronger or more stable than the previous session? → If yes, proceed to the next session → If no, repeat this session or review progression with your clinician
 Greg Dea
Performance Sports Physiotherapist with over 25 years in elite sport including with World Cup Champions China Womens Volleyball.

This 4-week block builds the high-load tendon strength required to begin true plyometric training. Phase 3 completes the Load Restoration system — and sets you up to enter the Achilles Elastic Capacity program with confidence.
Get Achilles Phase 3 — Weeks 9–12 (Pre-Elastic Readiness)