Handstand Walking 101
Chelsea McKinney
Gymnastics, Functional FitnessHave you always wanted to walk on your hands?!
Weather you are training for functional fitness, or ready to learn a new party trick, this program is for you!
Handstand Walking 101 is a progression based program. The difficulty will increase slightly week by week. I highly recommend repeating weeks until you feel comfortable and confident to move on.
Consistency over time is the key to reaching your goals. Put in the work and you will reap the rewards!

Prep
A
Handstand Mobility Day 1
Roll out Lats and Upper back Wrist warm up Wall clock stretch- 12 o'clock, 2 o'clock, 3 o'clock 20 seconds each Wall rib pull backs- I/A/W 60 seconds each Notes: Wall rib pull backs- start standing with the feet about a foot away from the wall, unlock the knees, tuck the hips under so the low back is touching the wall, pull the belly button into the spine, PUSH THE RIB CAGE BACK TO THE WALL, raise your arms to the appropriate letter without compromising the midline. I don't really care if the arms touch the wall. Just focus on maintaining the midline and fight to get your arms into position.
HSW Skill and Strength
B
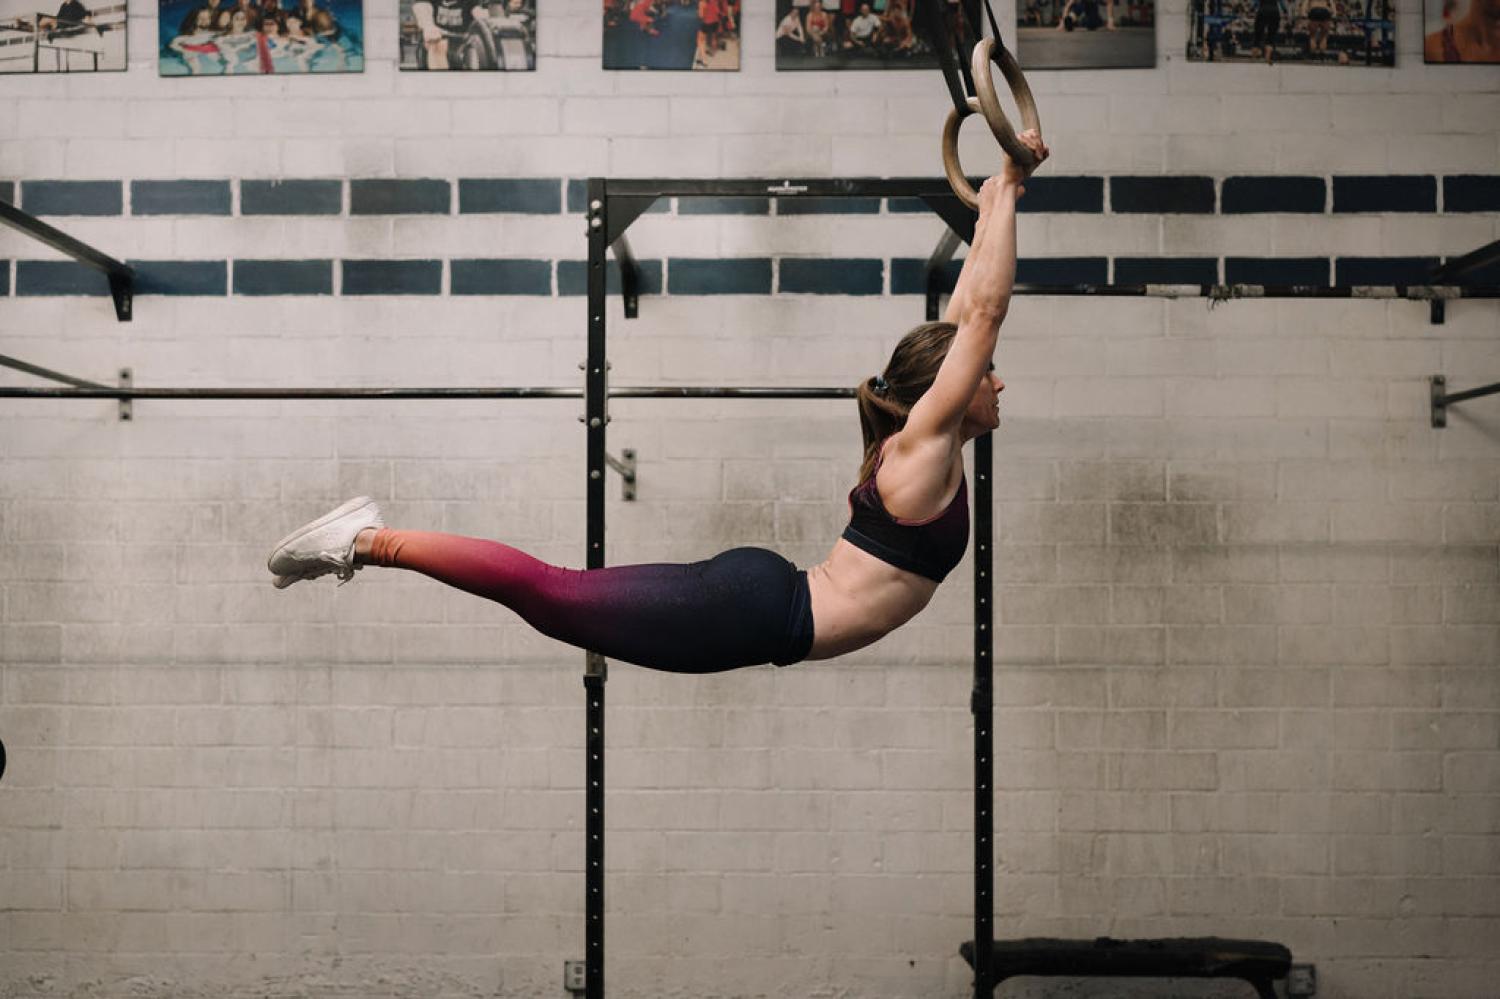
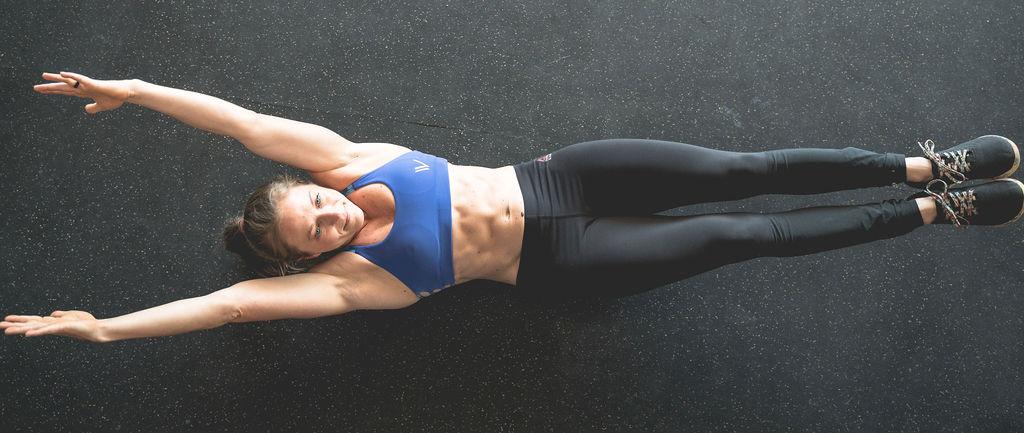
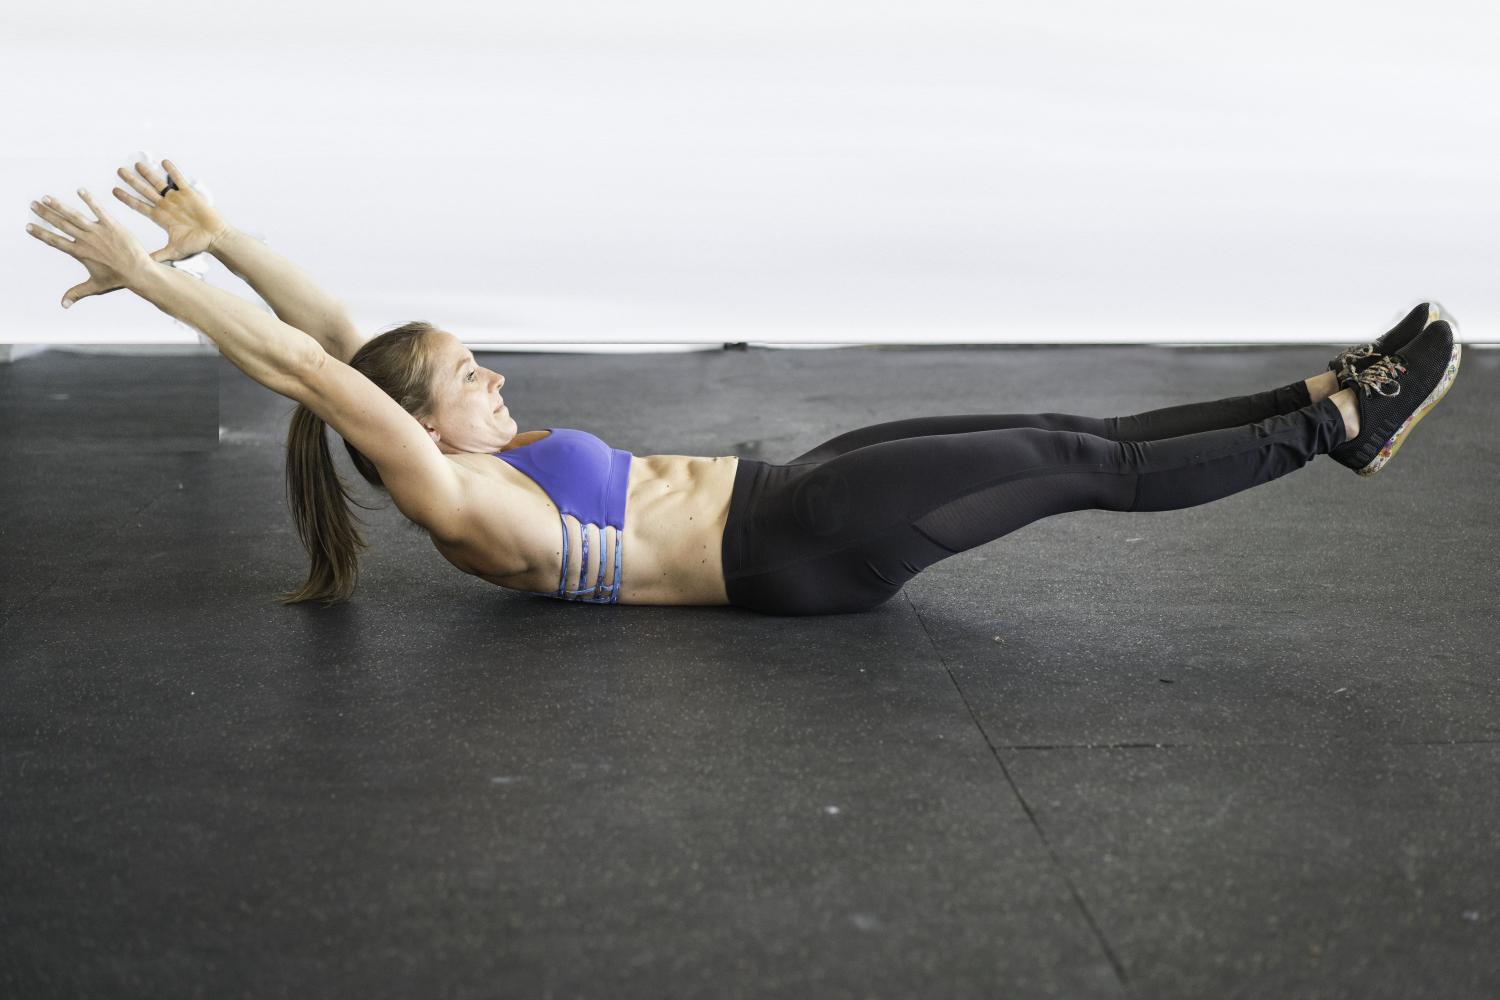
3 Rounds 60 sec Overhead straight body hold 30 sec Wall facing handstand hold 20 plank shoulder taps Notes Overhead straight body hold: This drill simulates the handstand position right side up. Focus on your form so that you can make corrections when you go upside down. Squeeze your legs tight and together, tuck the hips under, pull the belly button in, push the rib cage back, shrug the shoulders into the ears, lock the elbows, slight glance up at the plate. Wall facing handstand hold: Keep your arms as close to your ears as possible. Spread your fingers to grip the ground. Lock your elbows and drive up through your shoulders and pull your rib cage back. Tuck your hips under to maintain hollow and pull your belly button into your spine. Squeeze legs tight and together and point toes. Come down when you start to lose form. Plank shoulder taps: Spread your fingers. Lock your elbows. Spread your shoulder blades. Maintain hollow. Keep hips and shoulders square to the ground as you lift your right hand to touch your left shoulder. Alternate hands each rep.
Prep
A
Handstand Mobility Day 2
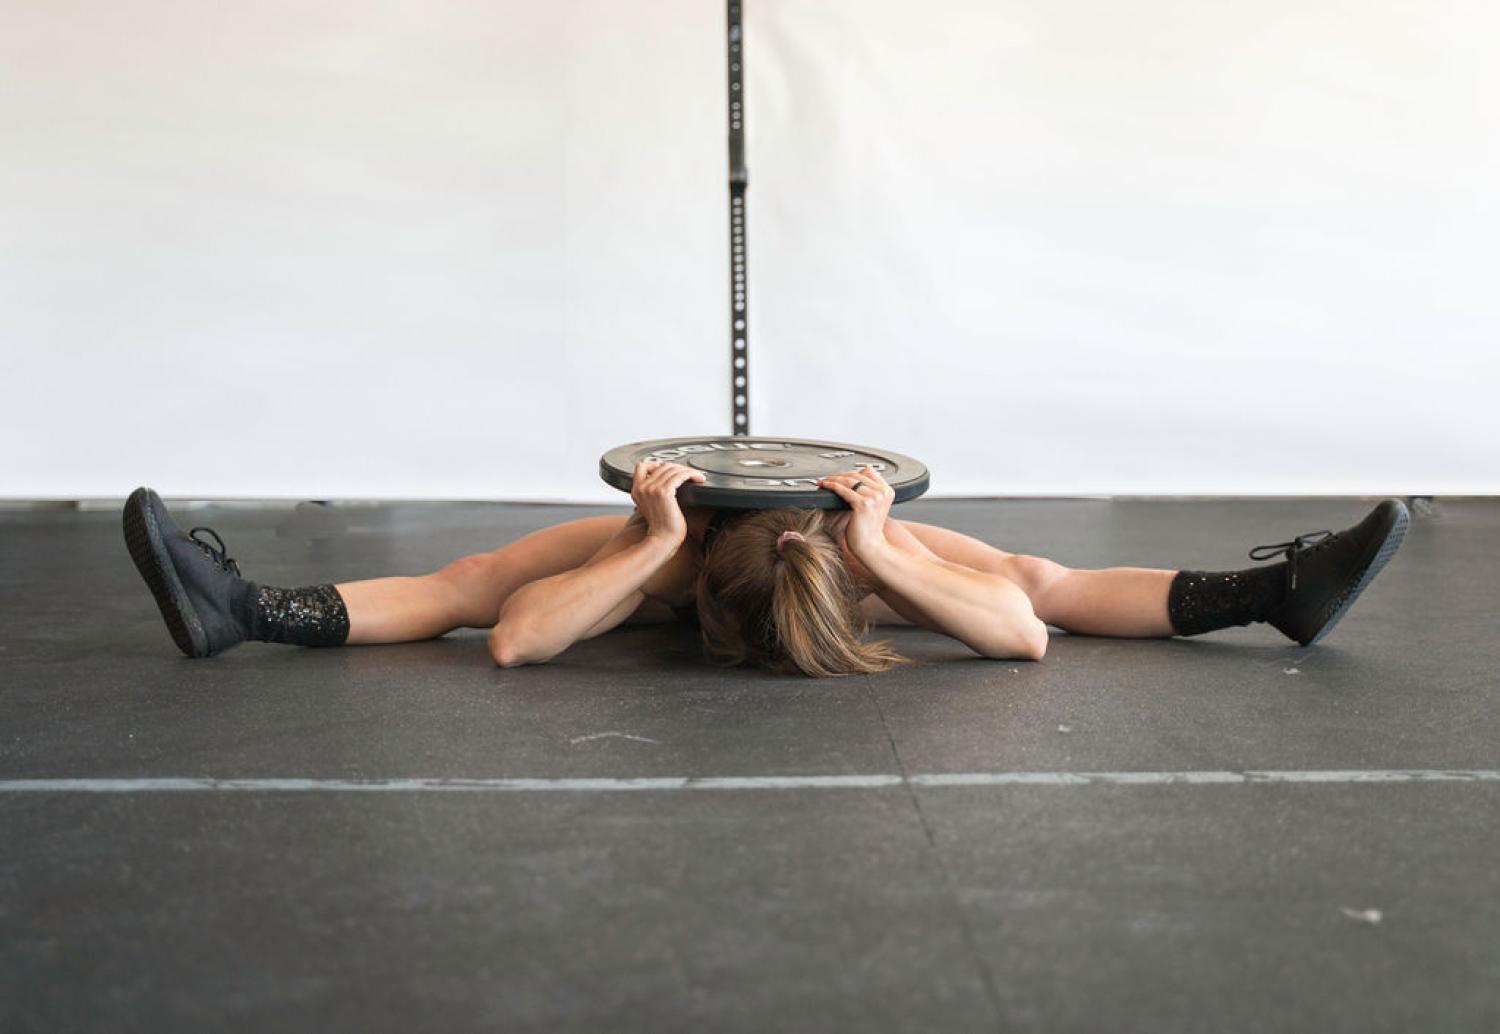
Roll out lats and upper back Wrist warm up T-spine bench stretch x 10 reps Toes to wall pause squats x10 reps with 5 sec hold in the bottom of each rep Notes: T-spine bench stretch- start with your shoulder blades on the edge of the bench. Hook your thumbs under the bench with your elbows locked out. Lower your hips as low as possible so you feel a nice stretch, then raise them back up. Toes to wall pause squats- Start in a wide squat stance with your toes touching the wall. Raise your arms overhead with your elbows locked out and biceps touching your ears. As you squat, your TOES, KNEES AND CHEST must remain in contact with the wall. Only go as low as you can WITHOUT letting your arms touch the wall. The goal is to use the muscles in the upper back to pull the arms back. Hold the bottom of each rep for 5 seconds.
HSW Skill and Strength
B
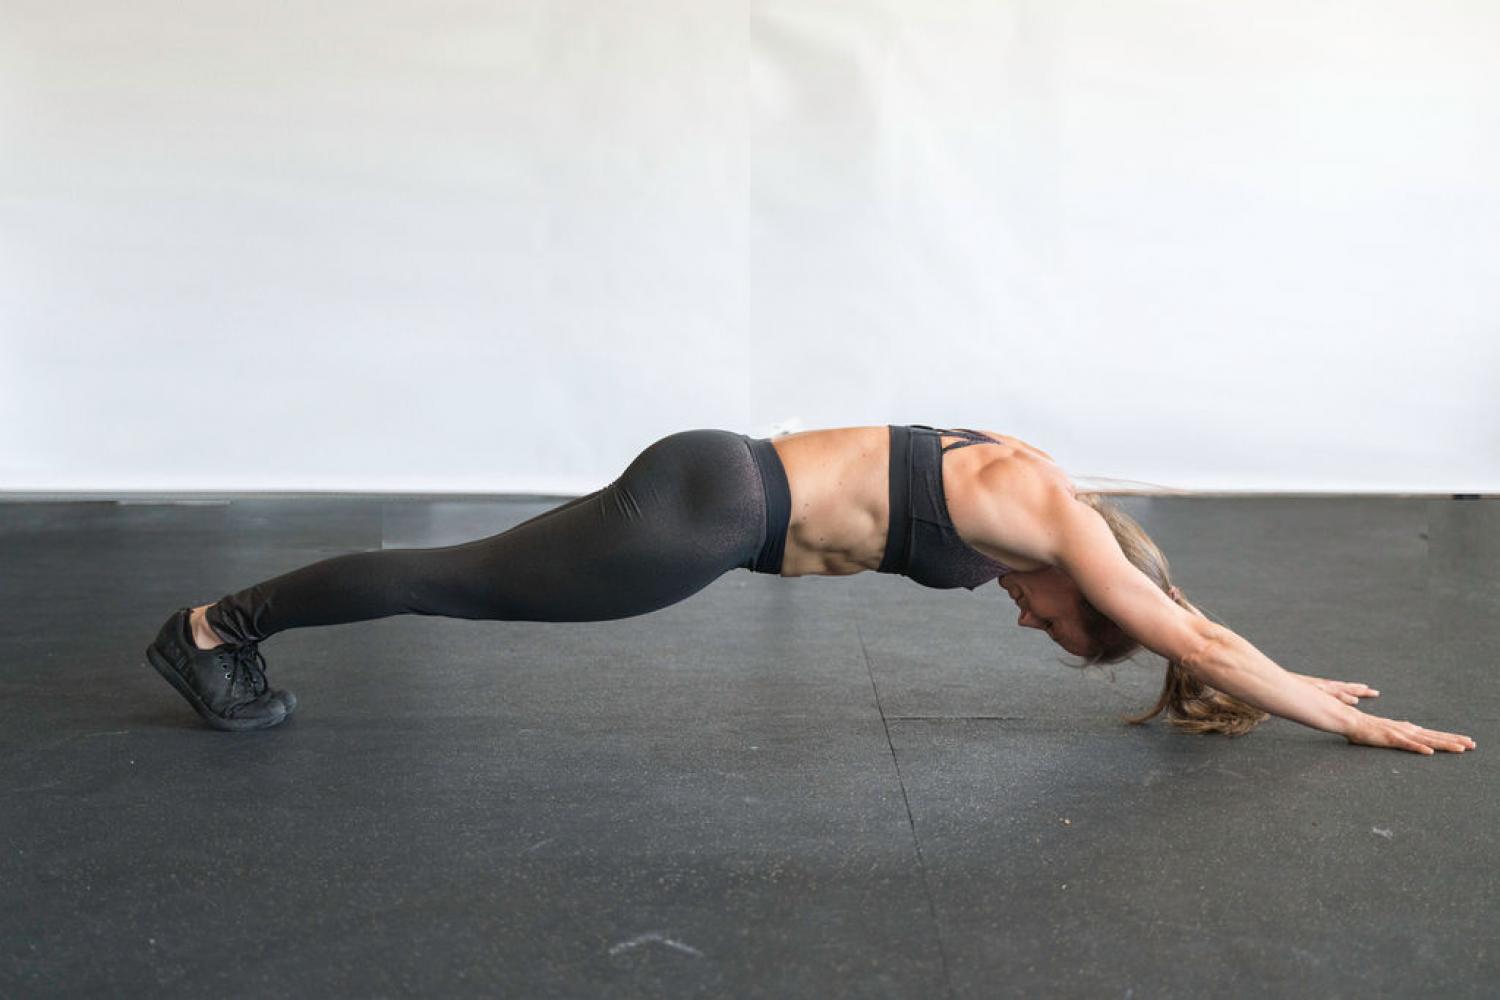
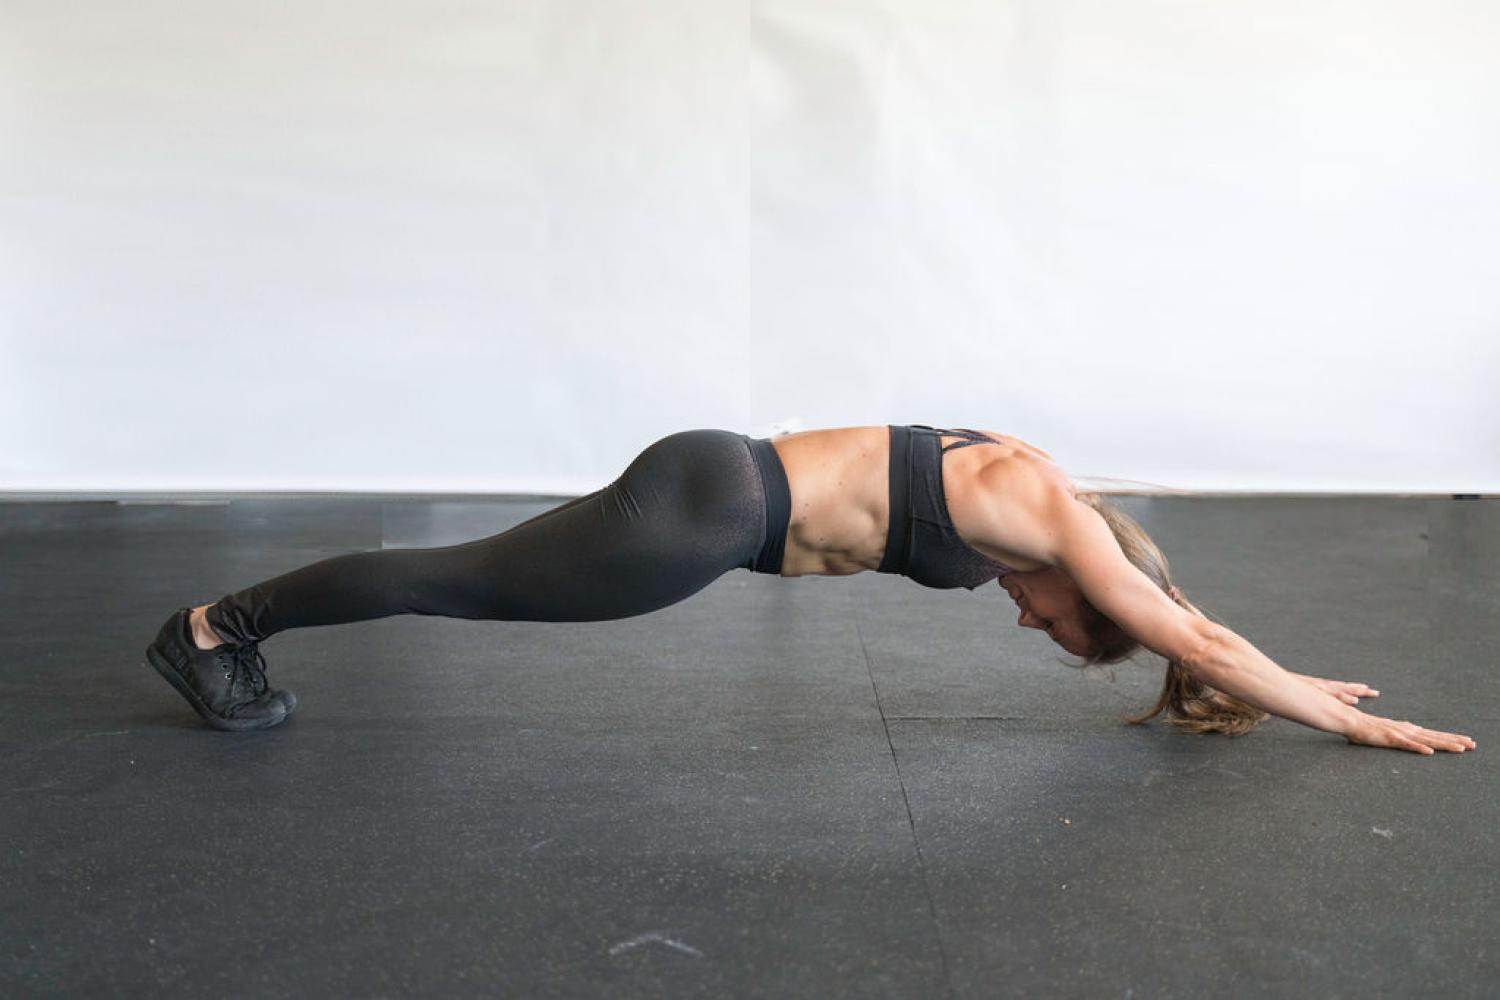
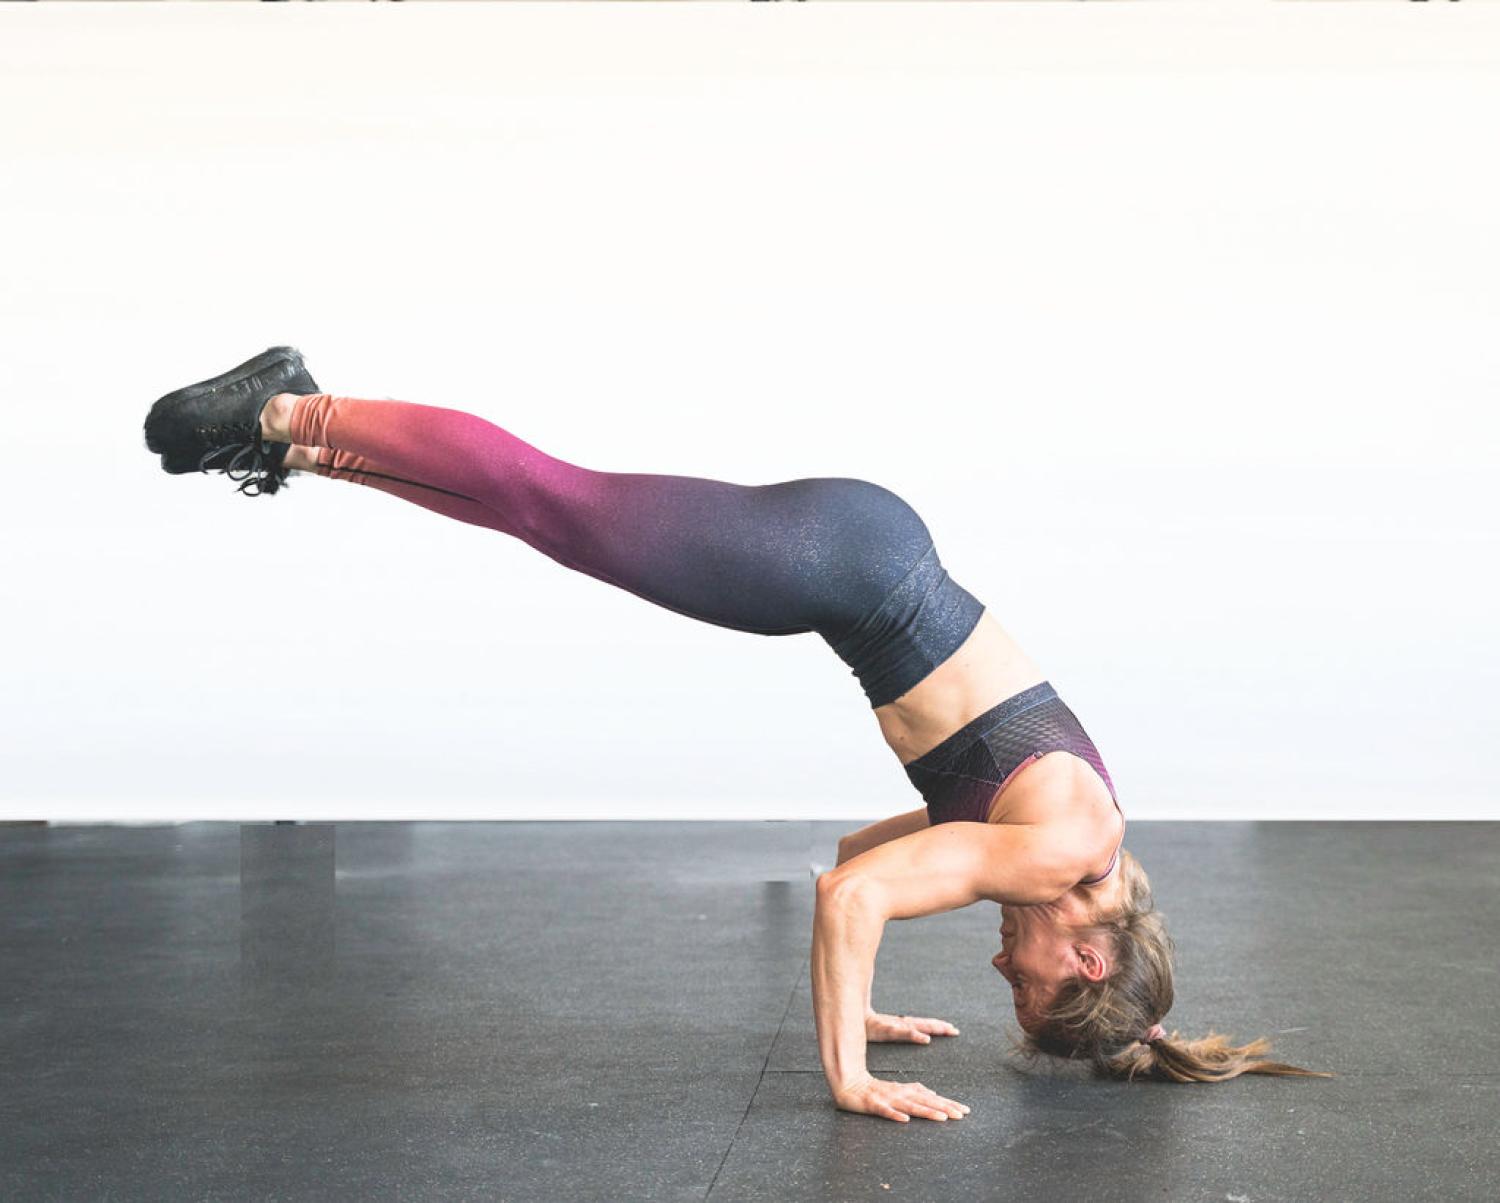
3 Rounds 5 prone arch to hollow raises + 10 sec hold on last rep 3 hollow body wall walks 10 wall facing handstand shoulder shifts Notes: Prone arch to hollow raises: Lay on your stomach with your quads on a foam roller and arms elevated on a panel mat or plate. Keep the legs together and toes pointed. Lift to hollow by tucking the hips under. Make sure to keep your arms in line with your ears throughout the entire movement. Hollow body wall walk: Start in the longest plank possible. Keep your arms in line with your ears and hips tucked under as you inch your way up the wall. Touch your nose and toes, then inch your way back down to your long hollow plank to complete the rep. Wall facing handstand shoulder shifts: Start in a wall facing handstand. Shift your hips from side to side so you can feel the extra pressure on each arm.
Prep
A
Handstand Mobility Day 3
Roll out lats and upper back Wrist warm up 3x10 sec feet elevated bridge hold 30 sec evil squat hold Notes: Feet elevated bridge hold- find an elevation that allows you to lock out your elbows and drive your head through your arms in order to stretch your upper back. The higher the elevation, the easier the bridge. Evil squat hold- Hold a light weight overhead and lower yourself into the lowest squat possible (butt wink is ok). Lock the elbows by aggressively pressing through the triceps. Use the muscles in your upper back to pull the plate back over your head as far as possible.
HSW Skill and Strength
B
3 Rounds 5 L-stand kick ups 5 Cartwheels 10 wall facing plate up downs (up + up + down + down =1 rep) Notes: L-stand kick ups: Kick up to a back to wall handstand. Extend your first leg straight up to handstand and stop the other leg in an L position. The goal is to learn how to control the second leg up to handstand as opposed to kicking and praying. Cartwheel: Cartwheels are a great way to bail out of handstands. Start in a long lunge with your arms by your ears. Think of a see saw, as your hands lower to the ground, your back leg lifts. When your hands touch the ground, aggressively kick off of your lead leg. Make sure you turn your hands (first hand 90 degrees, second hand 180 degrees). This will allow you to pivot your hips and land in a long lunge facing the opposite direction. Wall facing plate up downs: This is a great drill to build strength and endurance on your hands. Start in a wall facing handstand with your hands on the widest part of the plate. Shift your weight side to side so you can step up and down. Try to maintain your rhythm.
 Chelsea McKinney
Coach, Lifelong Athlete, Mom, Ready to help you reach your goals!
 Nicolette Cherney
Athlete
Verified Athlete""Chelsea’s effective drills and clear coaching videos have been crucial in developing my handstand walking from taking a few steps (and often getting stuck unable to move) to consistently covering longer distances. Her guidance has significantly clarified the process of mastering this skill.""


