Handstand 101
Chelsea McKinney
GymnasticsWhether you are beginning your handstand journey, or want to improve your technique, mobility or endurance, this program is for you!
Handstand 101 is a step by step program that will guide you through proper progressions that will allow you to build a beautiful freestanding handstand!
The program contains 3 20-30 minute workouts/week for 6 weeks. For best results, I would recommend repeating each week until you feel confident to move on.
Sign up today and take your handstands to the next level!


Prep
A
Handstand Mobility Day 1
Roll out Lats and Upper back Wrist warm up Wall clock stretch- 12 o'clock, 2 o'clock, 3 o'clock 20 seconds each Wall rib pull backs- I/A/W 60 seconds each Notes: Wall rib pull backs- start standing with the feet about a foot away from the wall, unlock the knees, tuck the hips under so the low back is touching the wall, pull the belly button into the spine, PUSH THE RIB CAGE BACK TO THE WALL, raise your arms to the appropriate letter without compromising the midline. I don't really care if the arms touch the wall. Just focus on maintaining the midline and fight to get your arms into position.
Circuit
B
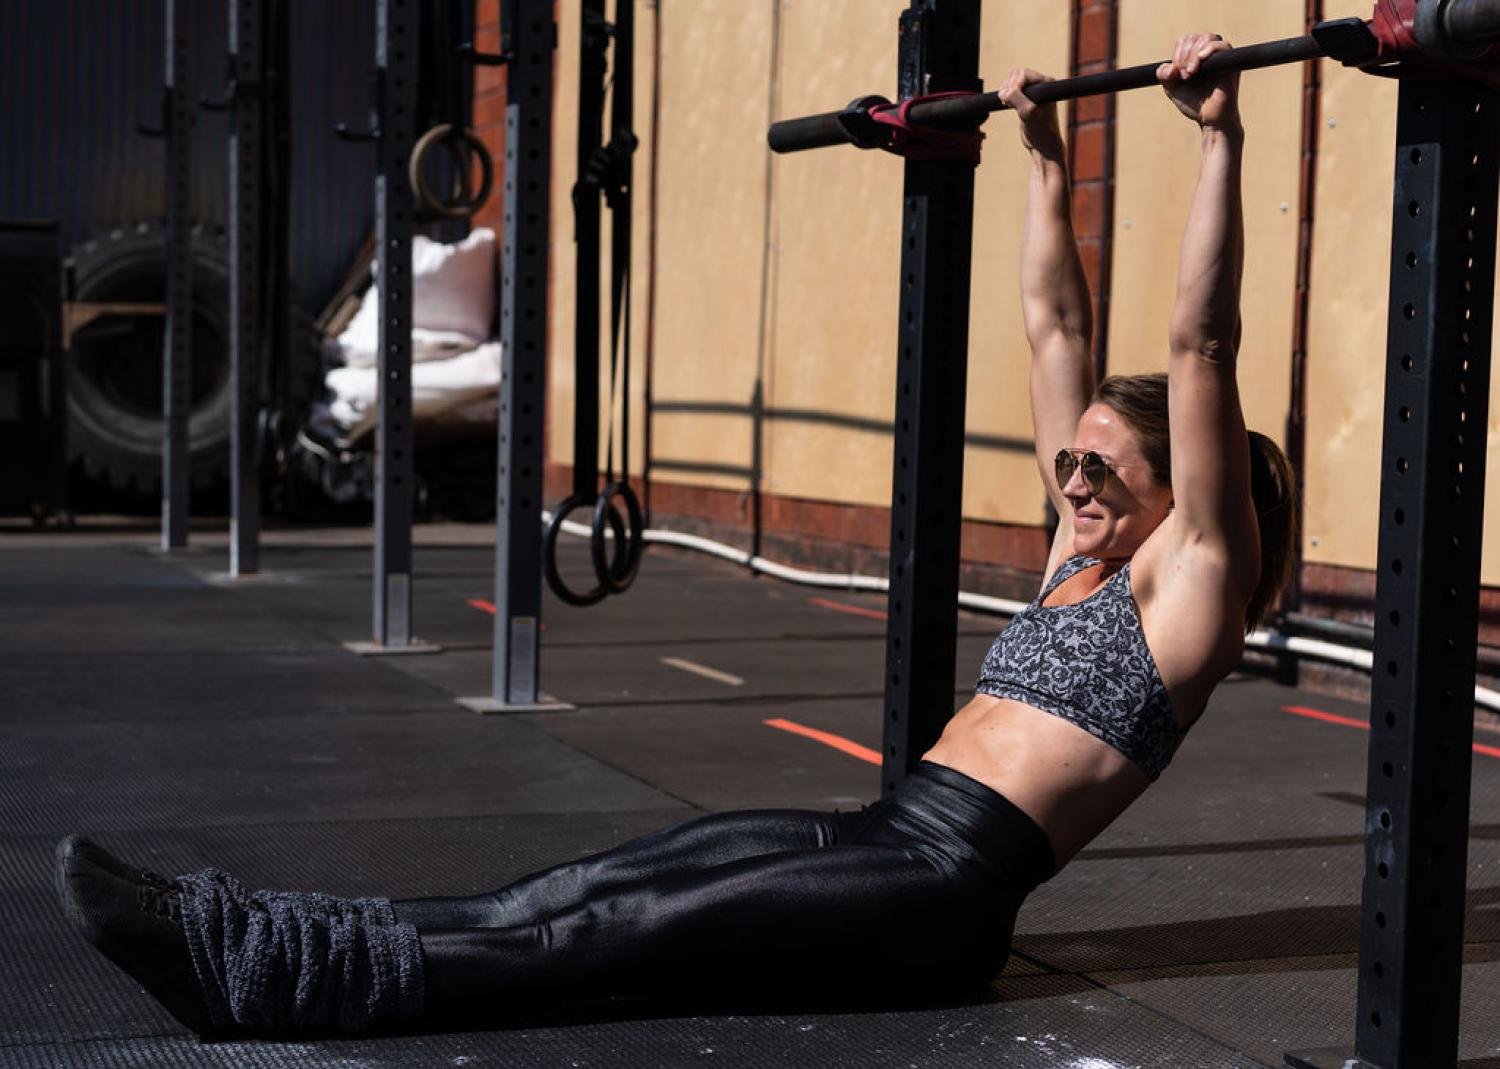
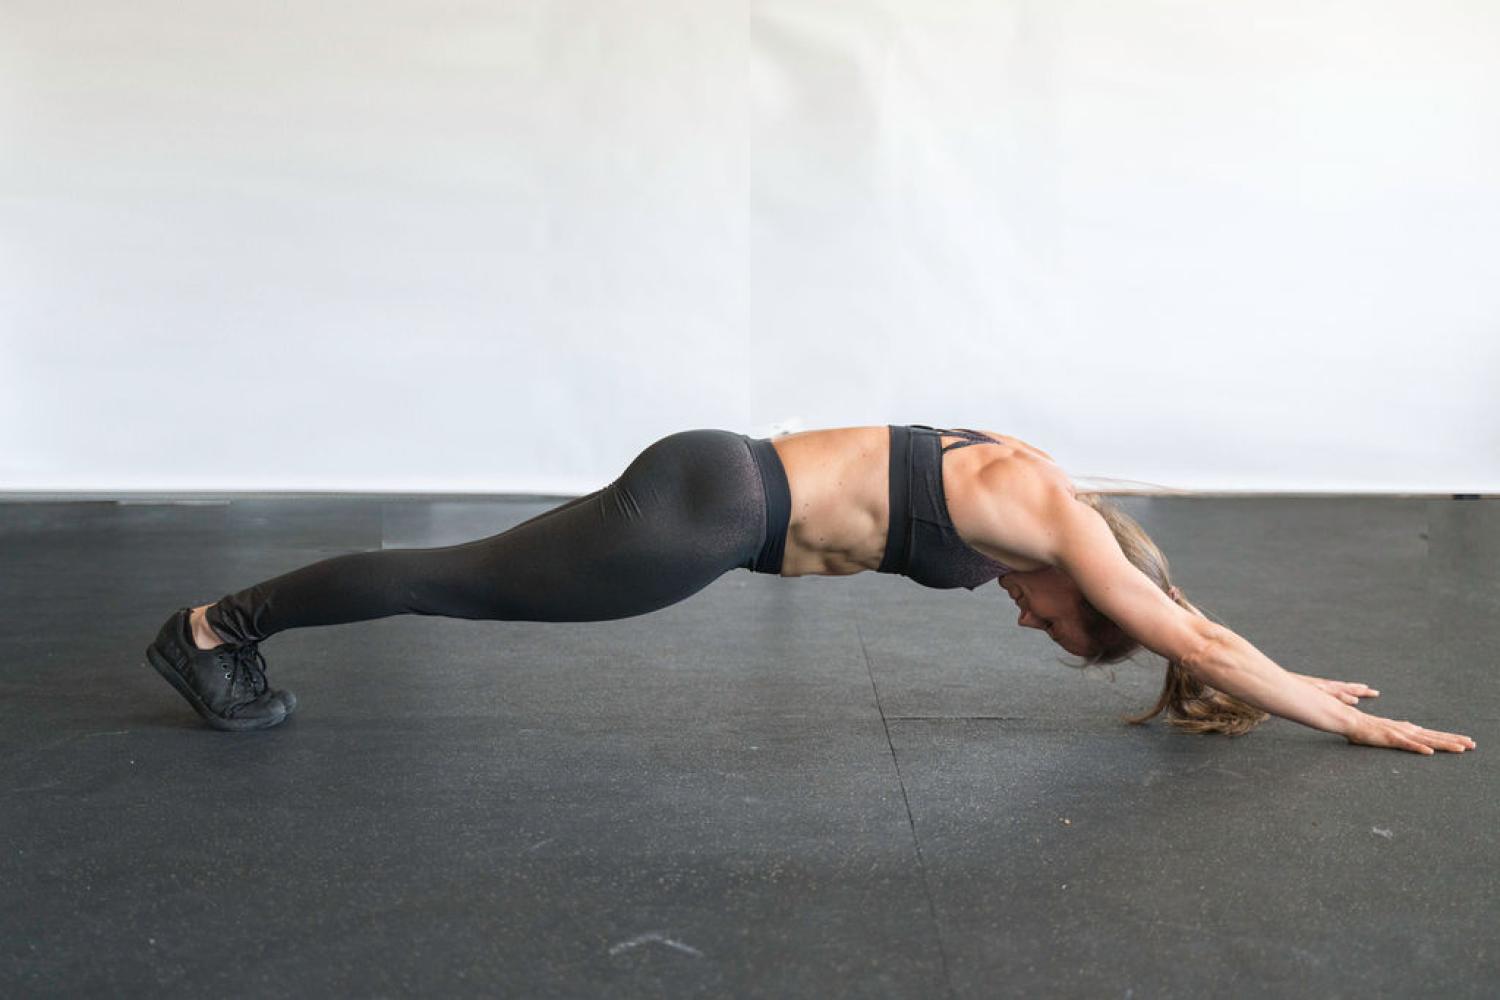
3 rounds 10 sec tripod hold 10 long hollow walk outs with 3-5 sec long hollow hold/rep 10 sit up to pike + 20 seated pike ups + 20 sec pike stretch Notes: Tripod Learning to balance with 3 points of contact before moving to 2 points will increase stability and improve positioning. Creating a proper tripod is critical. Hands should be shoulder width. Fingers are sperad so you can grip the ground. Place your head far enough in front of your hands that you can see your finger tips. This should create an equadistant triangle between your head and your hands. Straighten your legs and walk your feet as close to your hands as possible before placing one knee directly on top of each tricep. Make sure you push through your hands to share weight between your head and your hands. Long Hollow Walk Outs Start in a standing forward fold with your legs as straight as possible. Walk your hands out to the longest plank possible, then walk your hands back into your feet. Seated pike ups Plant your hands on the ground next to your knees or ankles. Pulse your heels off the ground. Try not to let the heels touch the ground until you finish all of the reps. Scale by lifting one leg at a time.
Prep
A
Handstand Mobility Day 2
Roll out lats and upper back Wrist warm up T-spine bench stretch x 10 reps Toes to wall pause squats x10 reps with 5 sec hold in the bottom of each rep Notes: T-spine bench stretch- start with your shoulder blades on the edge of the bench. Hook your thumbs under the bench with your elbows locked out. Lower your hips as low as possible so you feel a nice stretch, then raise them back up. Toes to wall pause squats- Start in a wide squat stance with your toes touching the wall. Raise your arms overhead with your elbows locked out and biceps touching your ears. As you squat, your TOES, KNEES AND CHEST must remain in contact with the wall. Only go as low as you can WITHOUT letting your arms touch the wall. The goal is to use the muscles in the upper back to pull the arms back. Hold the bottom of each rep for 5 seconds.
Circuit
B
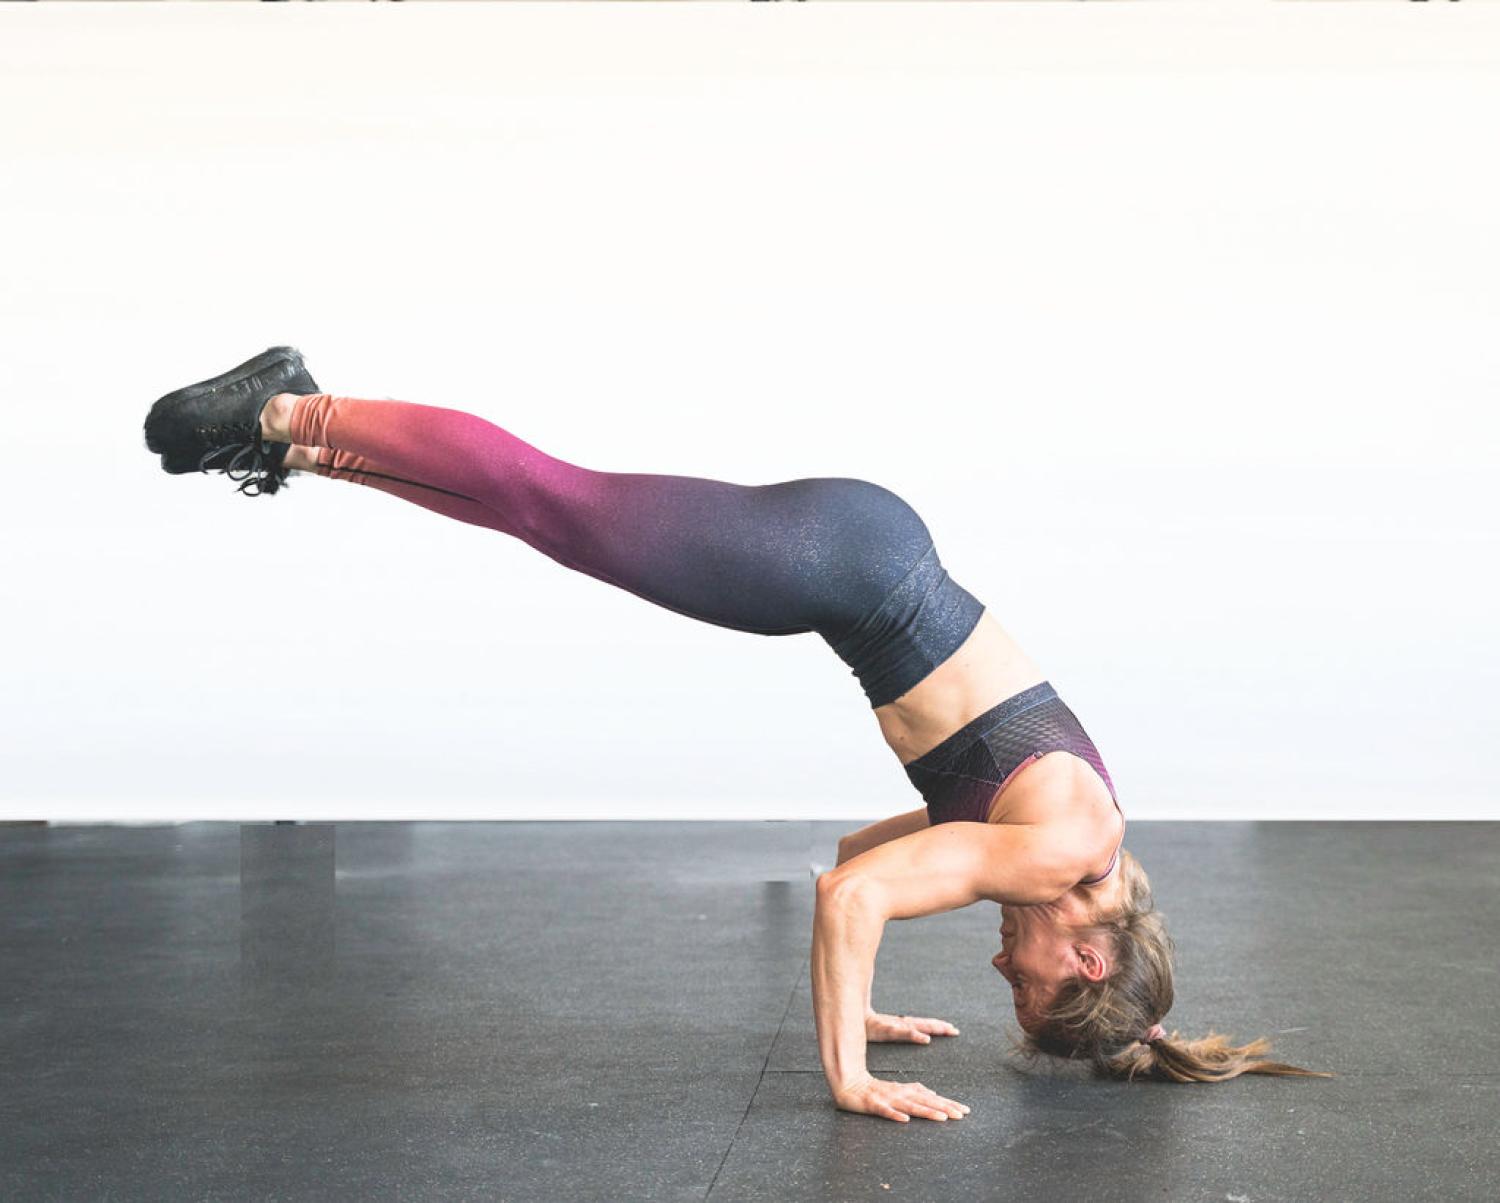
3 rounds 5 prone hollow raises + 10 sec hold on last rep 10 tuck shoulder shrugs 4-6 tuck single leg extensions Notes: Prone Hollow Raises Start lying on your stomach with your arms on a mat or a plate and legs on a foam roller. You will want to put the foam roller just above your knees and elbows on the mat with straight arms. Focus on lifting from your core and tucking your hips under. You will have to press through the arms, but try to stay low. Your ears should remain hidden by your shoulders at all times. Tuck shoulder shrugs You need a HIGH box for this drill! Place your knees on the box and hands on the ground. Walk your hands into the box as close as possible. Then, walk your knees to the edge of the box to stack your hips over your shoulders. Shrug your shoulders up into your ears as you drive your knees down into the box. Drive your chest towards the box as you shrug. Tuck single leg extensions Same starting position as the tuck shoulder shrugs. Maintain the shrug as you lift one leg up to handstand at a time. The goal is to reach the leg straight up so that the bottom knee feels very light on the box. Make sure the knee returns to the edge of the box when you bring the top leg down. Alternate legs each rep.
Prep
A
Handstand Mobility Day 3
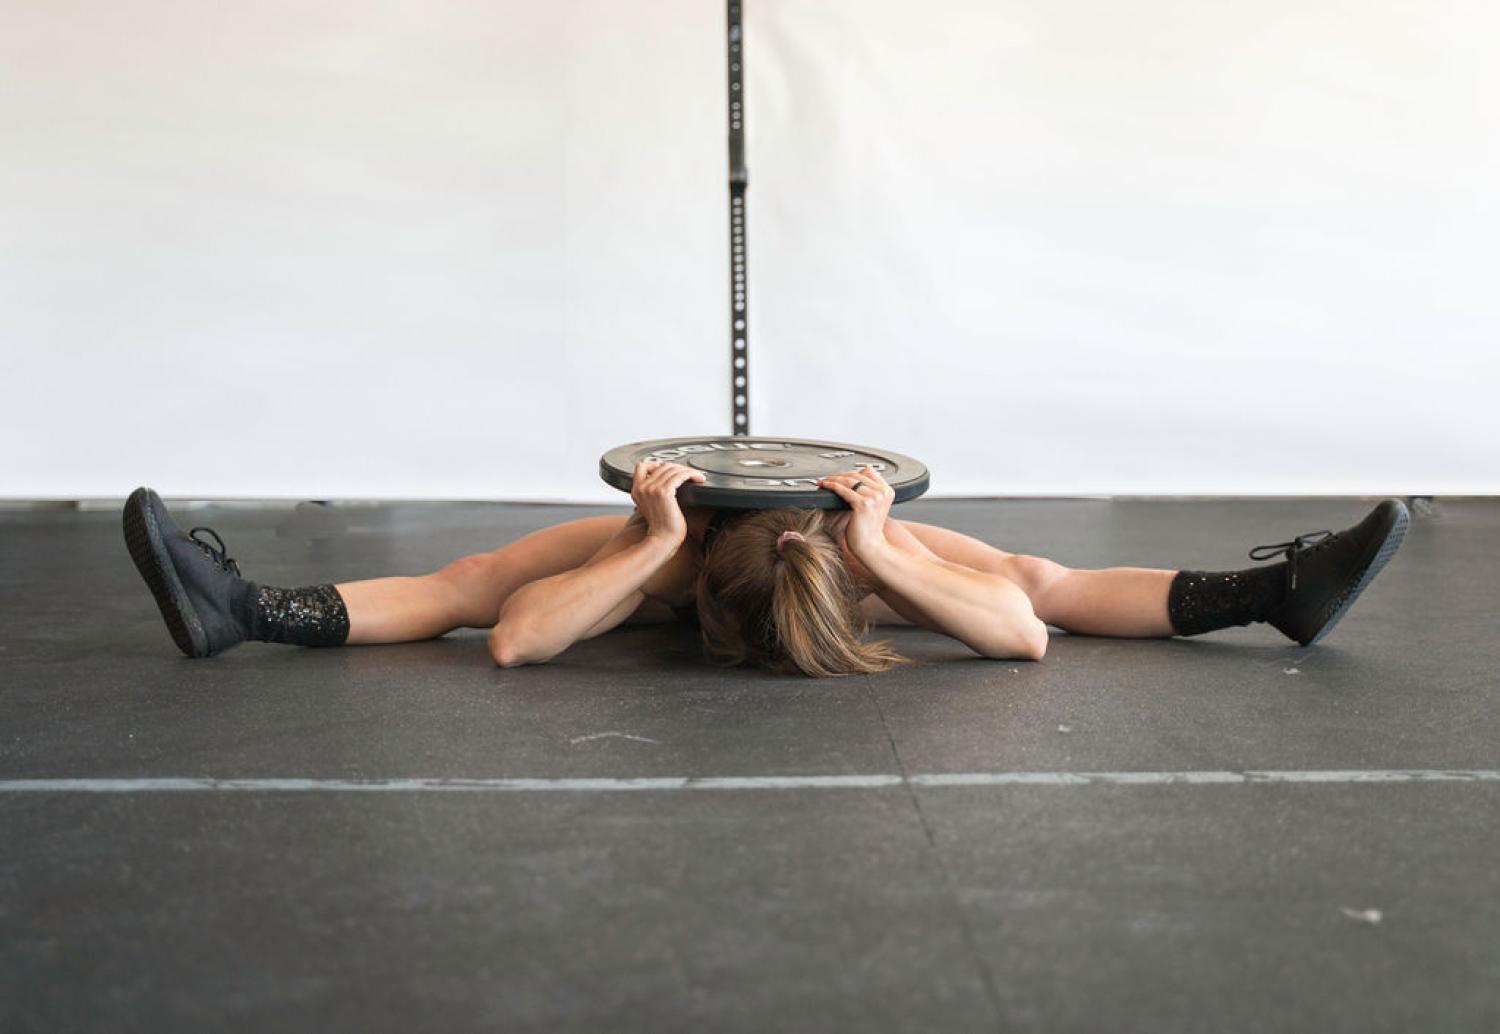
Roll out lats and upper back Wrist warm up 3x10 sec feet elevated bridge hold 30 sec evil squat hold Notes: Feet elevated bridge hold- find an elevation that allows you to lock out your elbows and drive your head through your arms in order to stretch your upper back. The higher the elevation, the easier the bridge. Evil squat hold- Hold a light weight overhead and lower yourself into the lowest squat possible (butt wink is ok). Lock the elbows by aggressively pressing through the triceps. Use the muscles in your upper back to pull the plate back over your head as far as possible.
Circuit
B
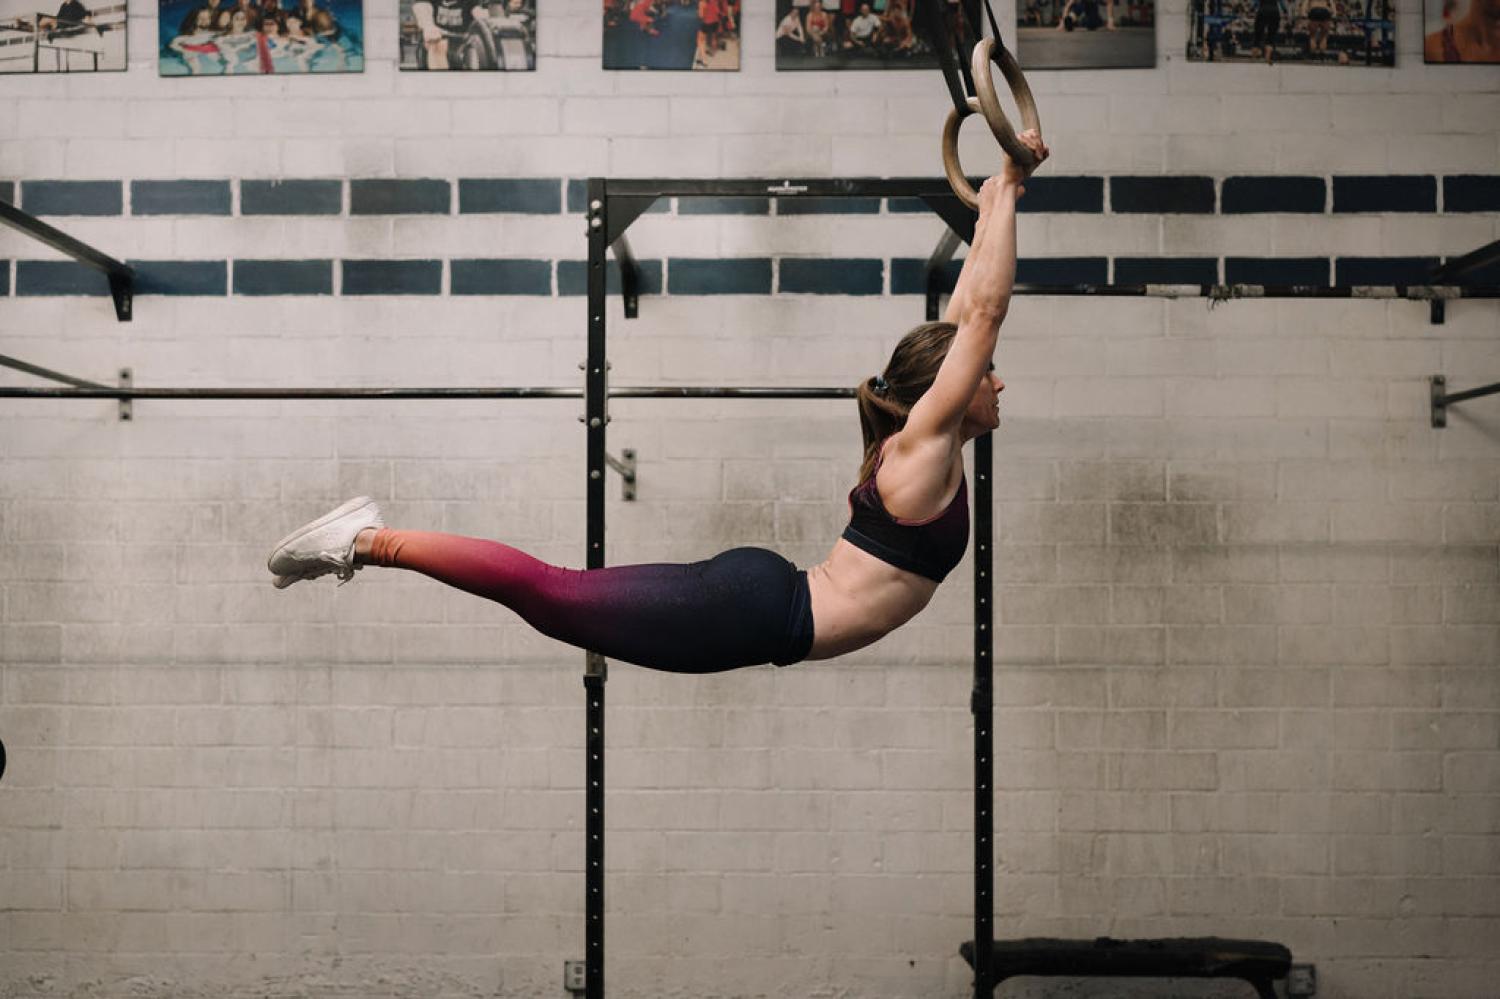
3 rounds 4-6 tuck lift to handstand 5 L stand kick ups 10 foam roller roll outs Notes: Tuck lift to handstand Start in a tuck handstand with your knees on a HIGH box and hands on the ground. Walk your hands as close to the box as you can and your knees to the edge of the box to stack your hips over your shoulders. Lift one leg up to handstand. Find your balance, then lift the other leg up to handstand with control. Return to the tuck however you need to to set up for the next rep. Scale with the wall behind you as needed. L stand kick ups Start in a long lunge with your arms by your ears. As your hands lower to the ground, your back leg will lift. Once the hands touch the ground, push off your bottom leg and lift to an L stand: One leg up, one in an L shape. The goal of this drill is to teach you how to control your kick up instead of just throwing yourself and praying you stay still. ;) Foam roller roll outs Start in a pseudo plank position (upper back rounded, hands turned out to 45 degrees, lean forward over your shoulders) with your thighs on a foam roller. Roll out the longest plank you can, then use your lats to pull yourself back to plank.
 Chelsea McKinney
Coach, Lifelong Athlete, Mom, Ready to help you reach your goals!


 Kam Wilder
United States Army/Athlete
Verified Athlete""With the Army moving to the new ACFT, I needed a program that improved my core strength and shoulder stability. Chelsea's programming did just that. I've seen tremendous results in my overhead strength. If you want effective results, join the team!""